Who doesn’t love a deliciously soft tsoureki! This is my super easy tsoureki recipe made using a bread machine. It needs less than 10 minutes hands on time to prepare because your bread machine does all the hard work, leaving you with more time to enjoy it!
So let’s get started! Read on to discover my tips and tricks to make your bread machine tsoureki to perfection, step by step photos and of course my bread machine specific recipe!
What is Tsoureki?
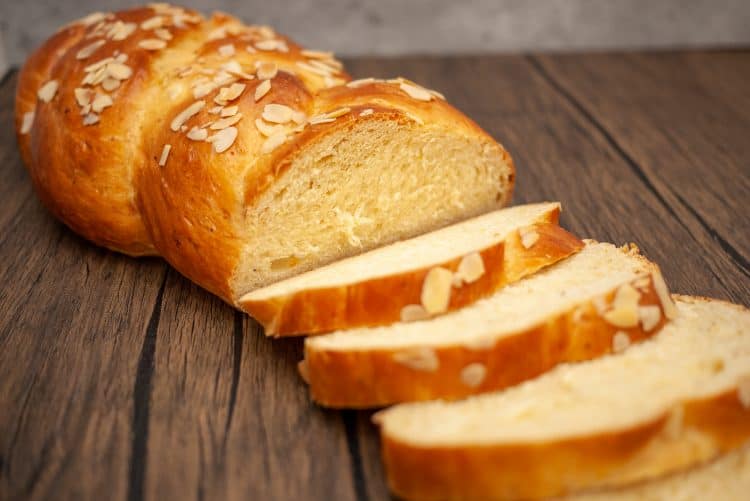
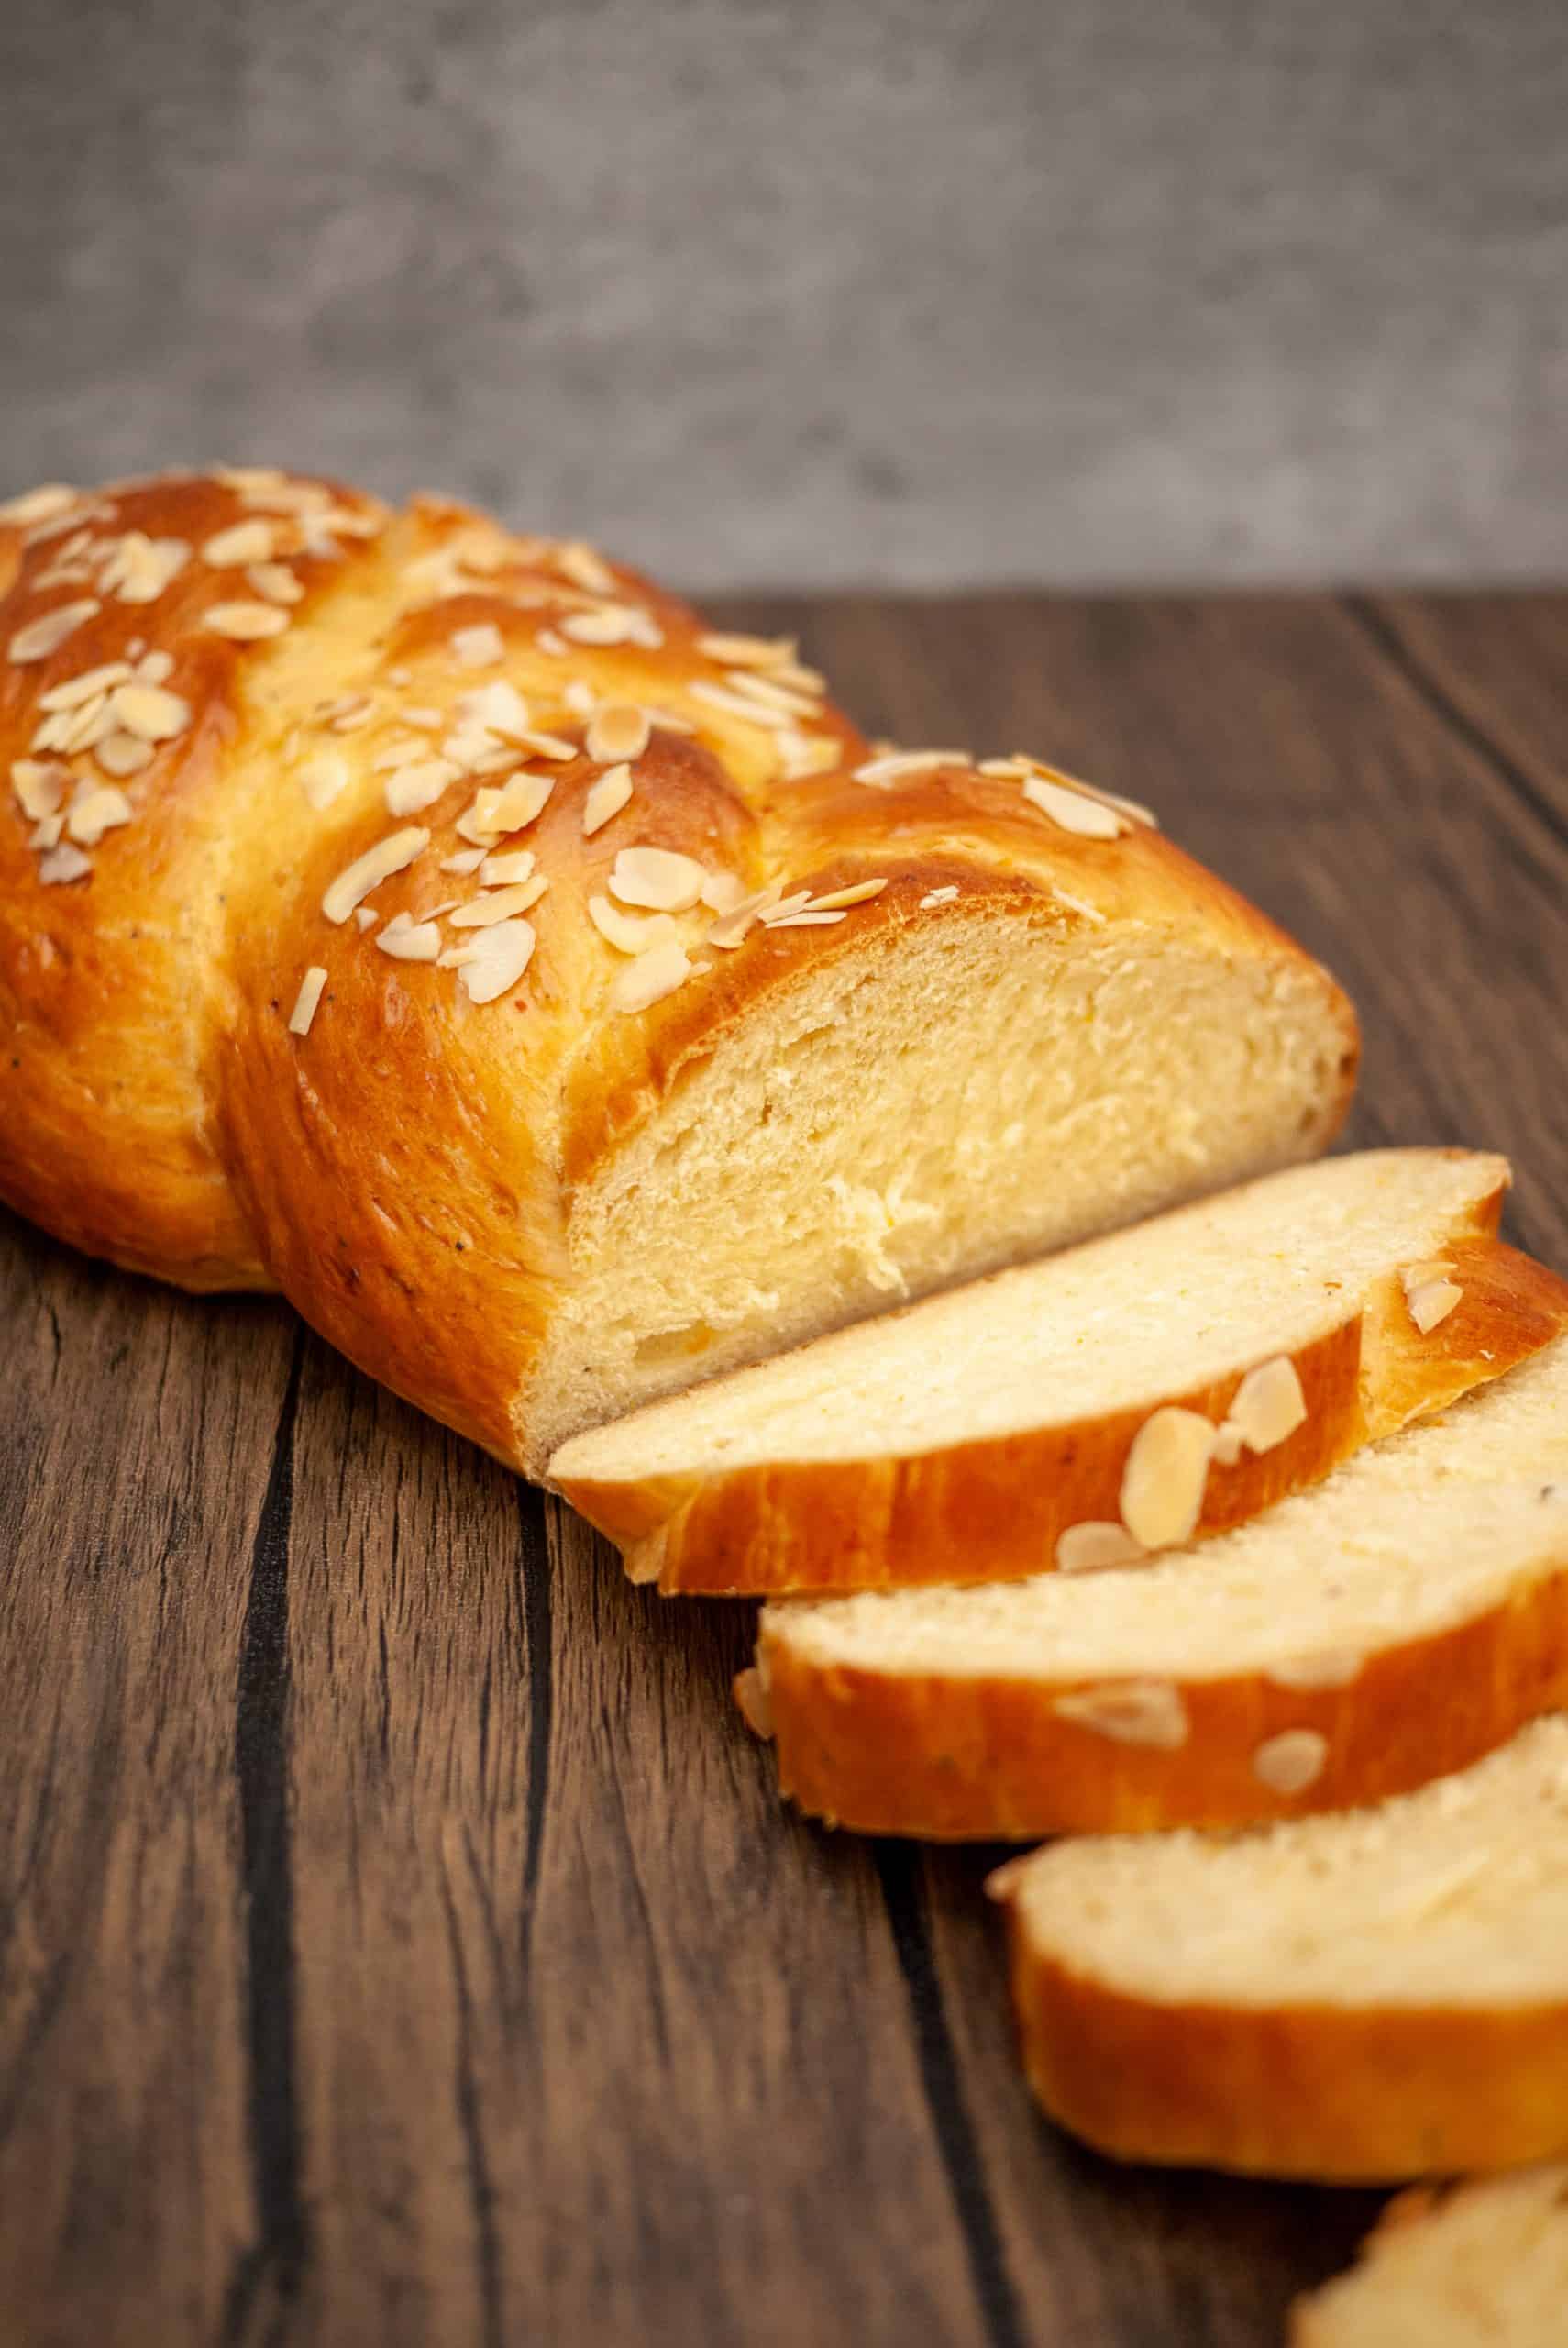
Tsoureki is a traditional Greek enriched dough sweet bread, similar to the French brioche, but with a twist. It is flavoured with orange zest, mahlab, cardamom and mastic, resulting in an incredibly fragrant, soft and stretchy dough that will amaze you.
Tsoureki is commonly served during the Easter holidays with some also making it during the Christmas holidays to welcome the New Year.
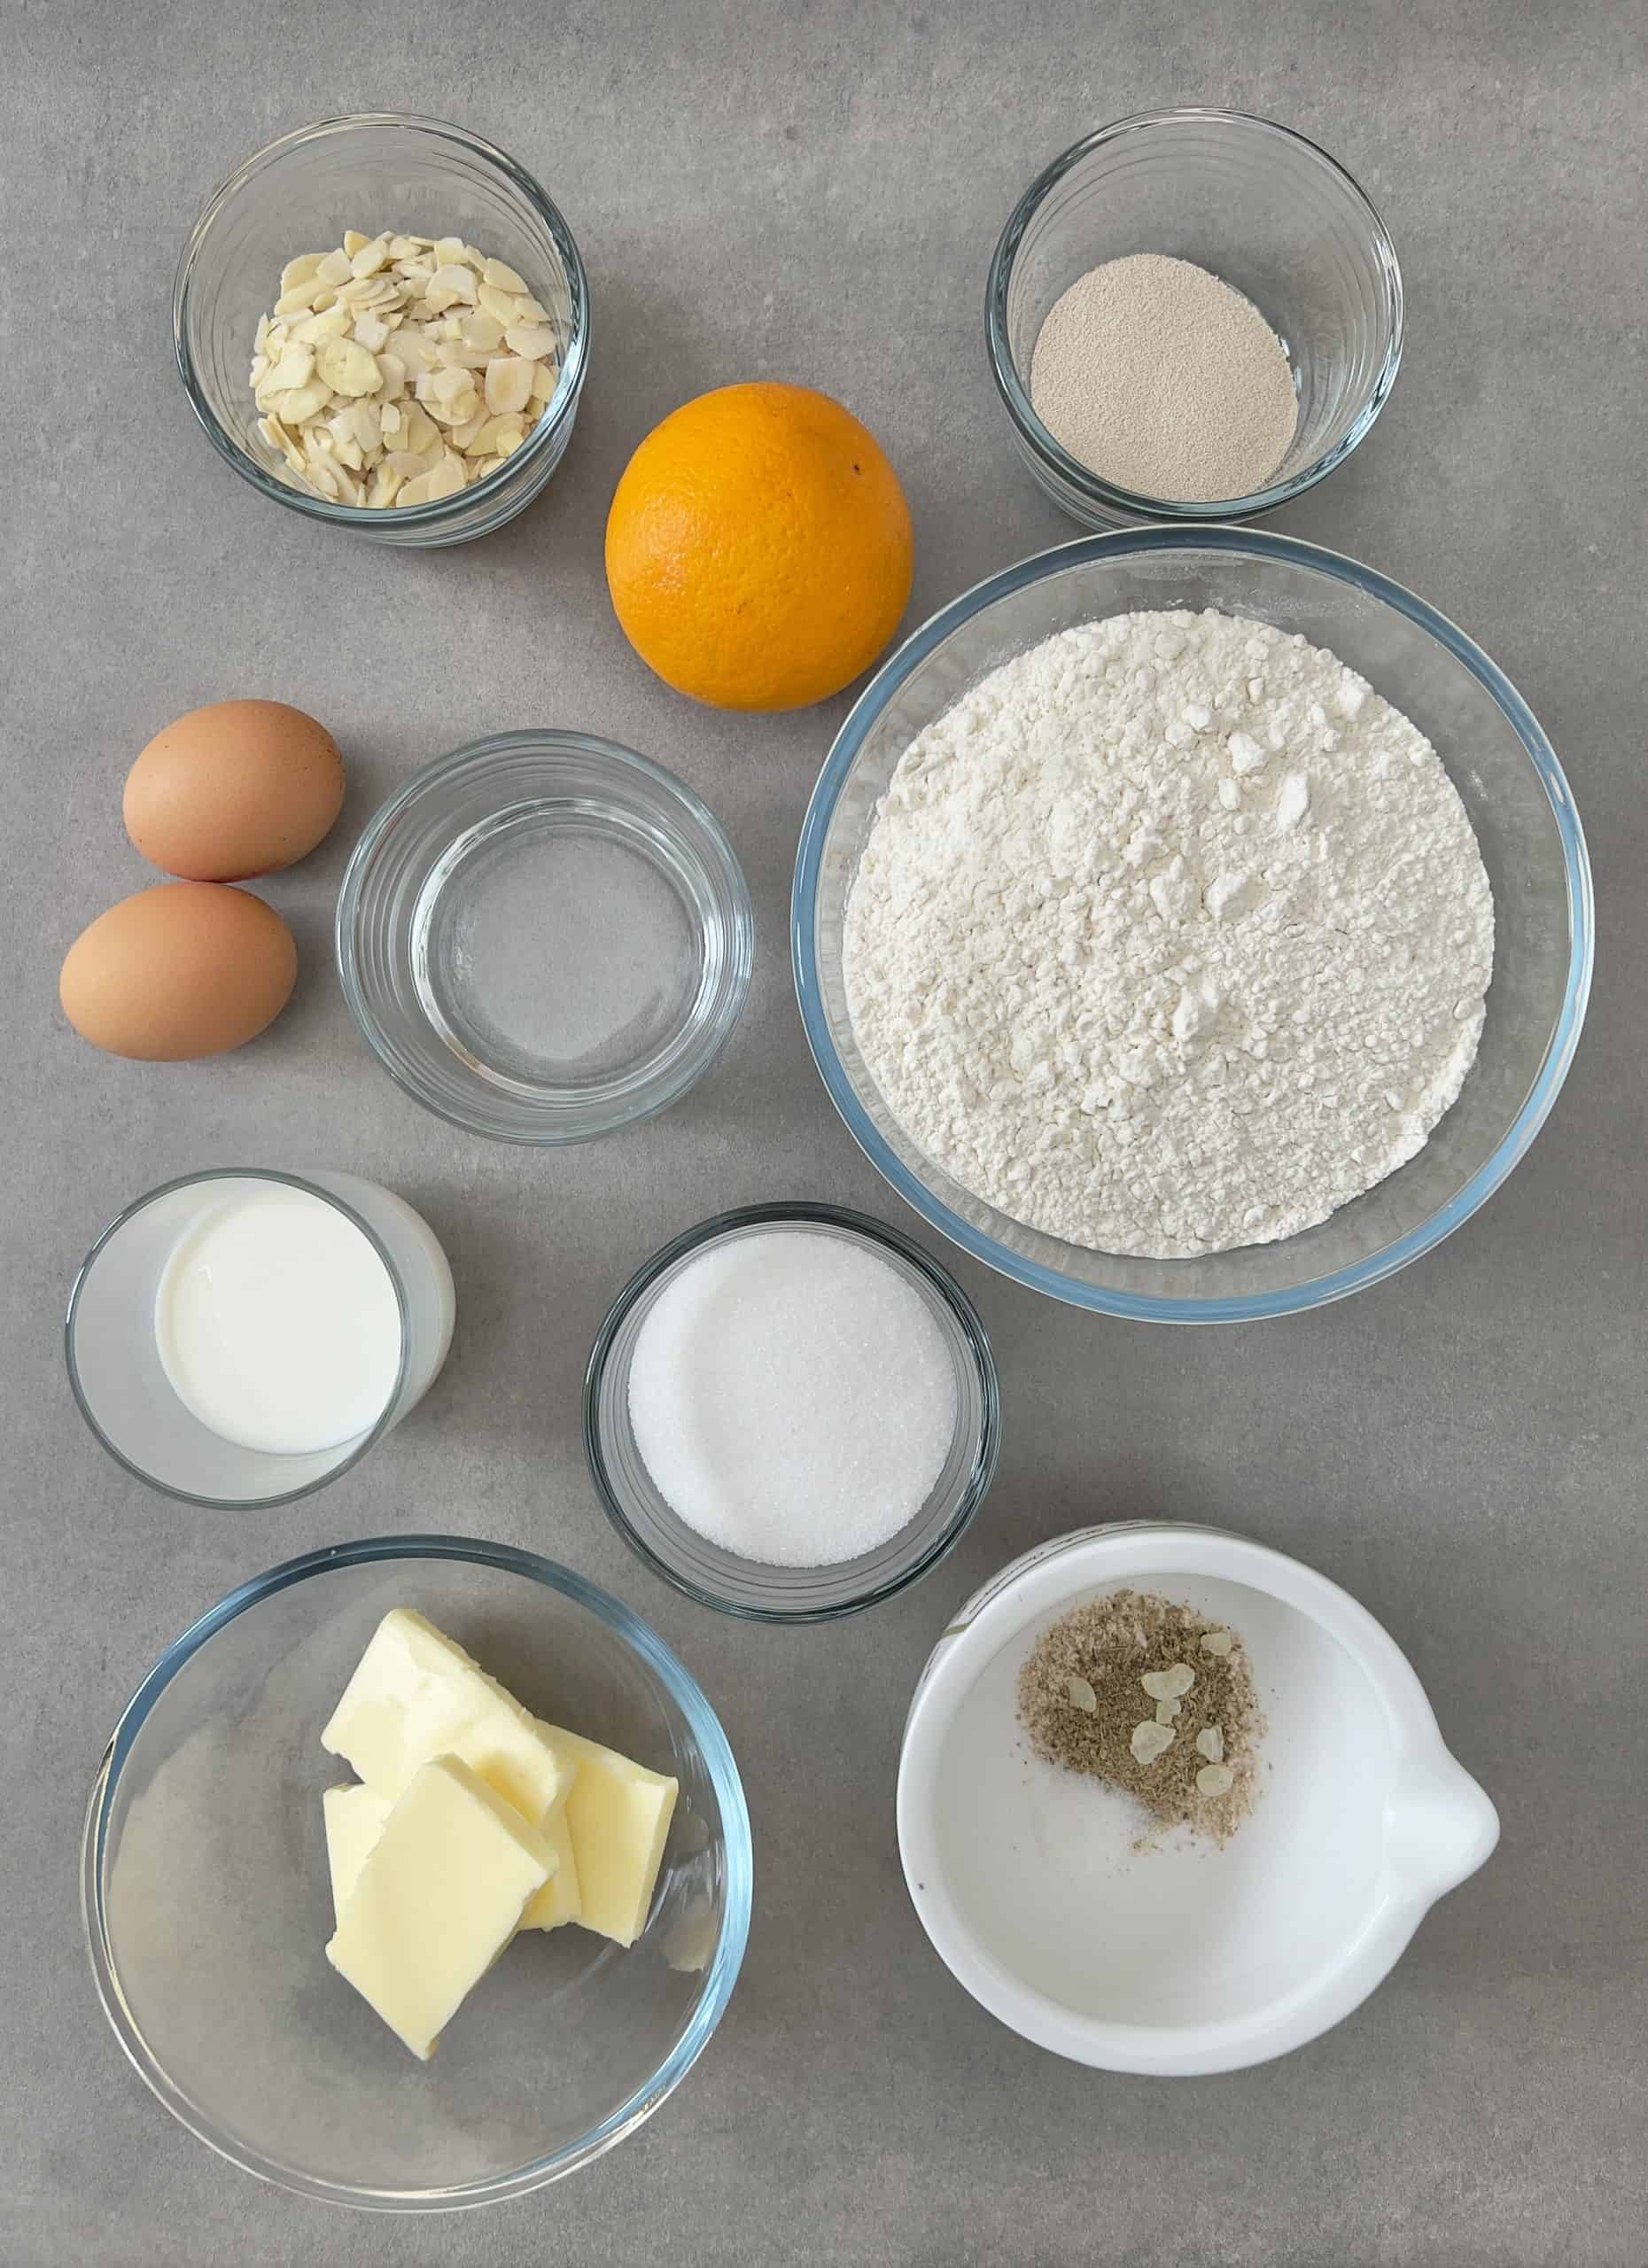
Easy bread machine Tsoureki key ingredients
- Flour: To make the perfect Tsoureki you will need to get yourself some strong white flour, also known as bread flour. It is high in protein, gluten, and it will help your tsoureki get a deliciously chewy and stringy texture and not fall apart when baking.
- Spices – mahlab, cardamom, mastic: What gives a traditional tsoureki its amazing smell and taste are its spices. You’ll need to get yourself some mahlab – it is a sweet smelling berry that gives off an almond-y, cherry like smell. You can find some either on Amazon or your local Greek or Arab deli. You’ll also need to get some cardamom powder, which will give the tsoureki a subtly woody smell. I also love using some mastic resin that gives the tsoureki a delicious smell that reminds me of pine and cedar.
- Orange zest: I love adding some orange zest to my tsoureki. I find it balances out the earthy spices with a delicious citrusy smell.
- Butter, Milk, Eggs: You’ll need some good quality unsalted butter made from cows milk. Also full fat milk and some good quality fresh eggs. The butter, milk and eggs enrich the dough and give it that delicious soft texture and also its color! I personally love picking the golden yolk eggs variety as they give the dough an amazing golden color!
- Instant yeast: You will need to get some instant yeast, also known as quick yeast or easy bake yeast to make this tsoureki in your bread machine. It is fast acting, it doesn’t need dissolving in water and is perfectly suited for bread machine use! If you only have dry active yeast, dissolve it in the water before adding it in the bread machine.
- Sugar: You’ll need some plain regular granulated sugar, which is super common in all supermarkets.
- Almond slivers: To garnish your tsoureki!
How to make your Tsoureki in your bread machine
Making a tsoureki in a bread machine could not be simpler! The bread machine will do all the hard work for you, kneading the dough and proofing it at the right temperature, resulting in the perfect tsoureki dough with no effort at all. You just need to:
- Put the ingredients in the bread machine bowl and run the dough cycle
- Let it proof until it has doubled in size
- Shape it into a loose braid and let it proof until it has doubled in size again
- Bake it in your oven
Preparing the tsoureki dough in your bread machine
It is super important that you add your tsoureki ingredients in the bread machine bowl in the right order. Why?
Because it will help your bread machine knead the tsoureki dough without any flour getting stuck on the sides of the bowl and not incorporating in the dough.
Also you want to avoid your yeast coming in contact with the sugar and the salt as this may stop it from activating and rising. So lets get started.
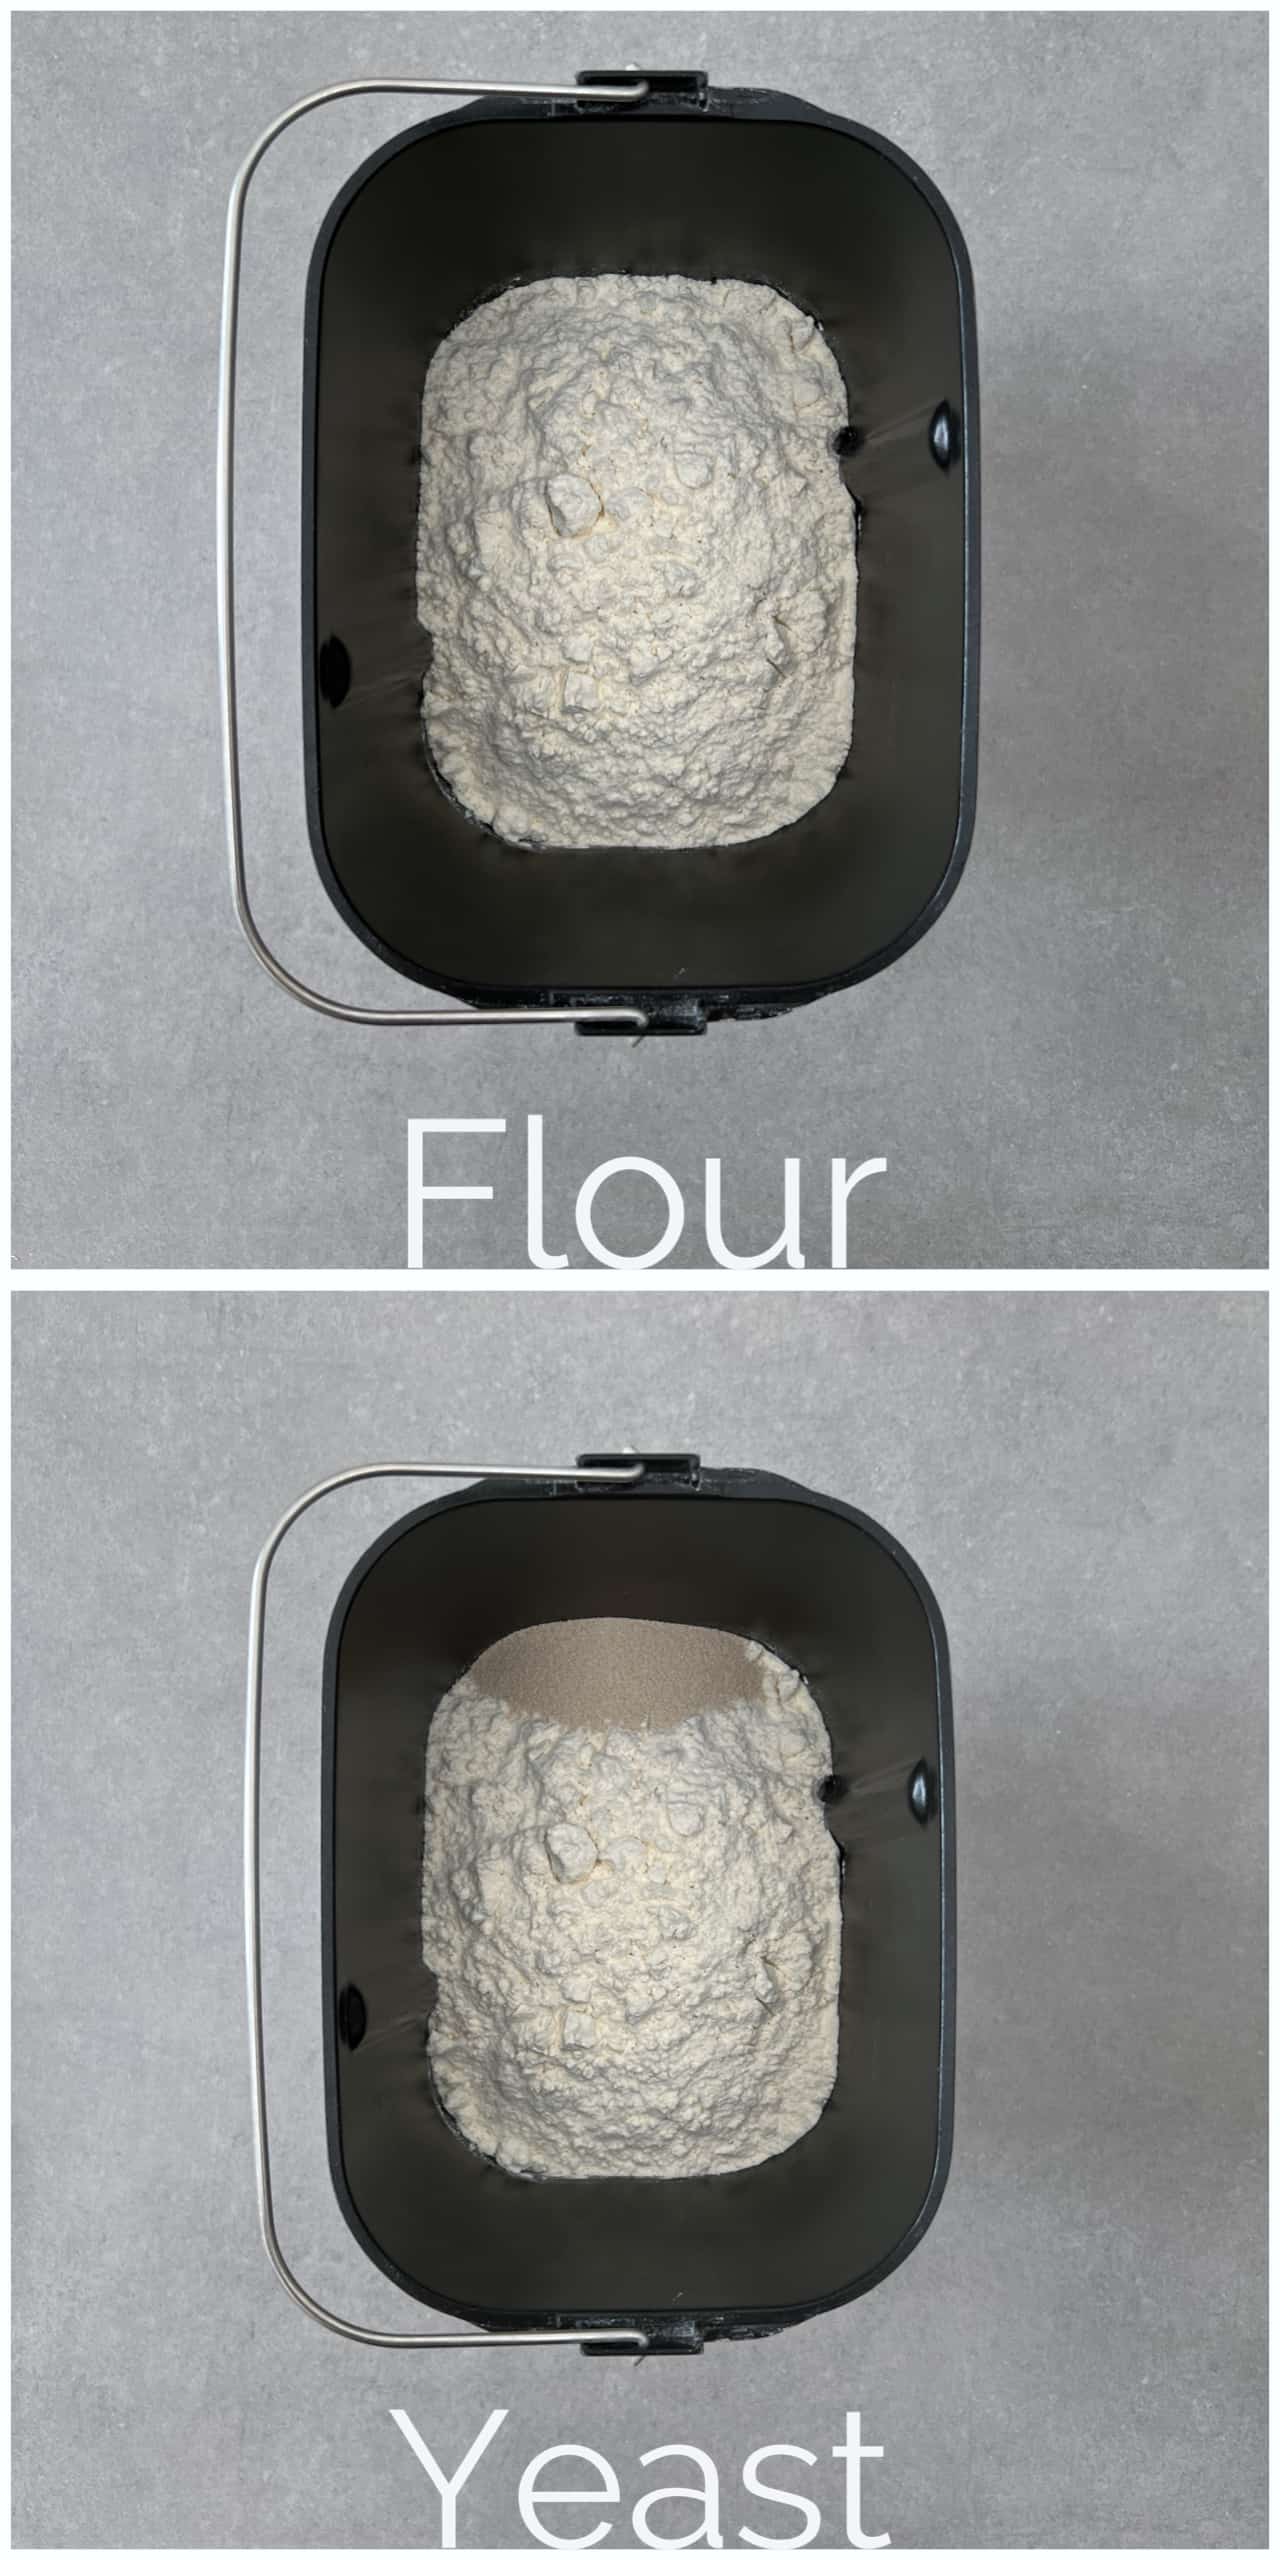
Firstly you’ll need to add your flour to the bread machine bowl. Make sure you shake the bowl a little so that the flour is spread evenly at the bottom of the bowl.
Also wipe down the sides of the bowl with a paper towel, if any flour has ended up getting stuck there. This will help your bread machine mix all the flour in, without any getting stuck on the dough when its rising.
Then add the dry instant yeast at the very end of your bread machine bowl as shown in the picture above. You want the yeast as far away as possible from the salt and sugar to help it activate when kneading.
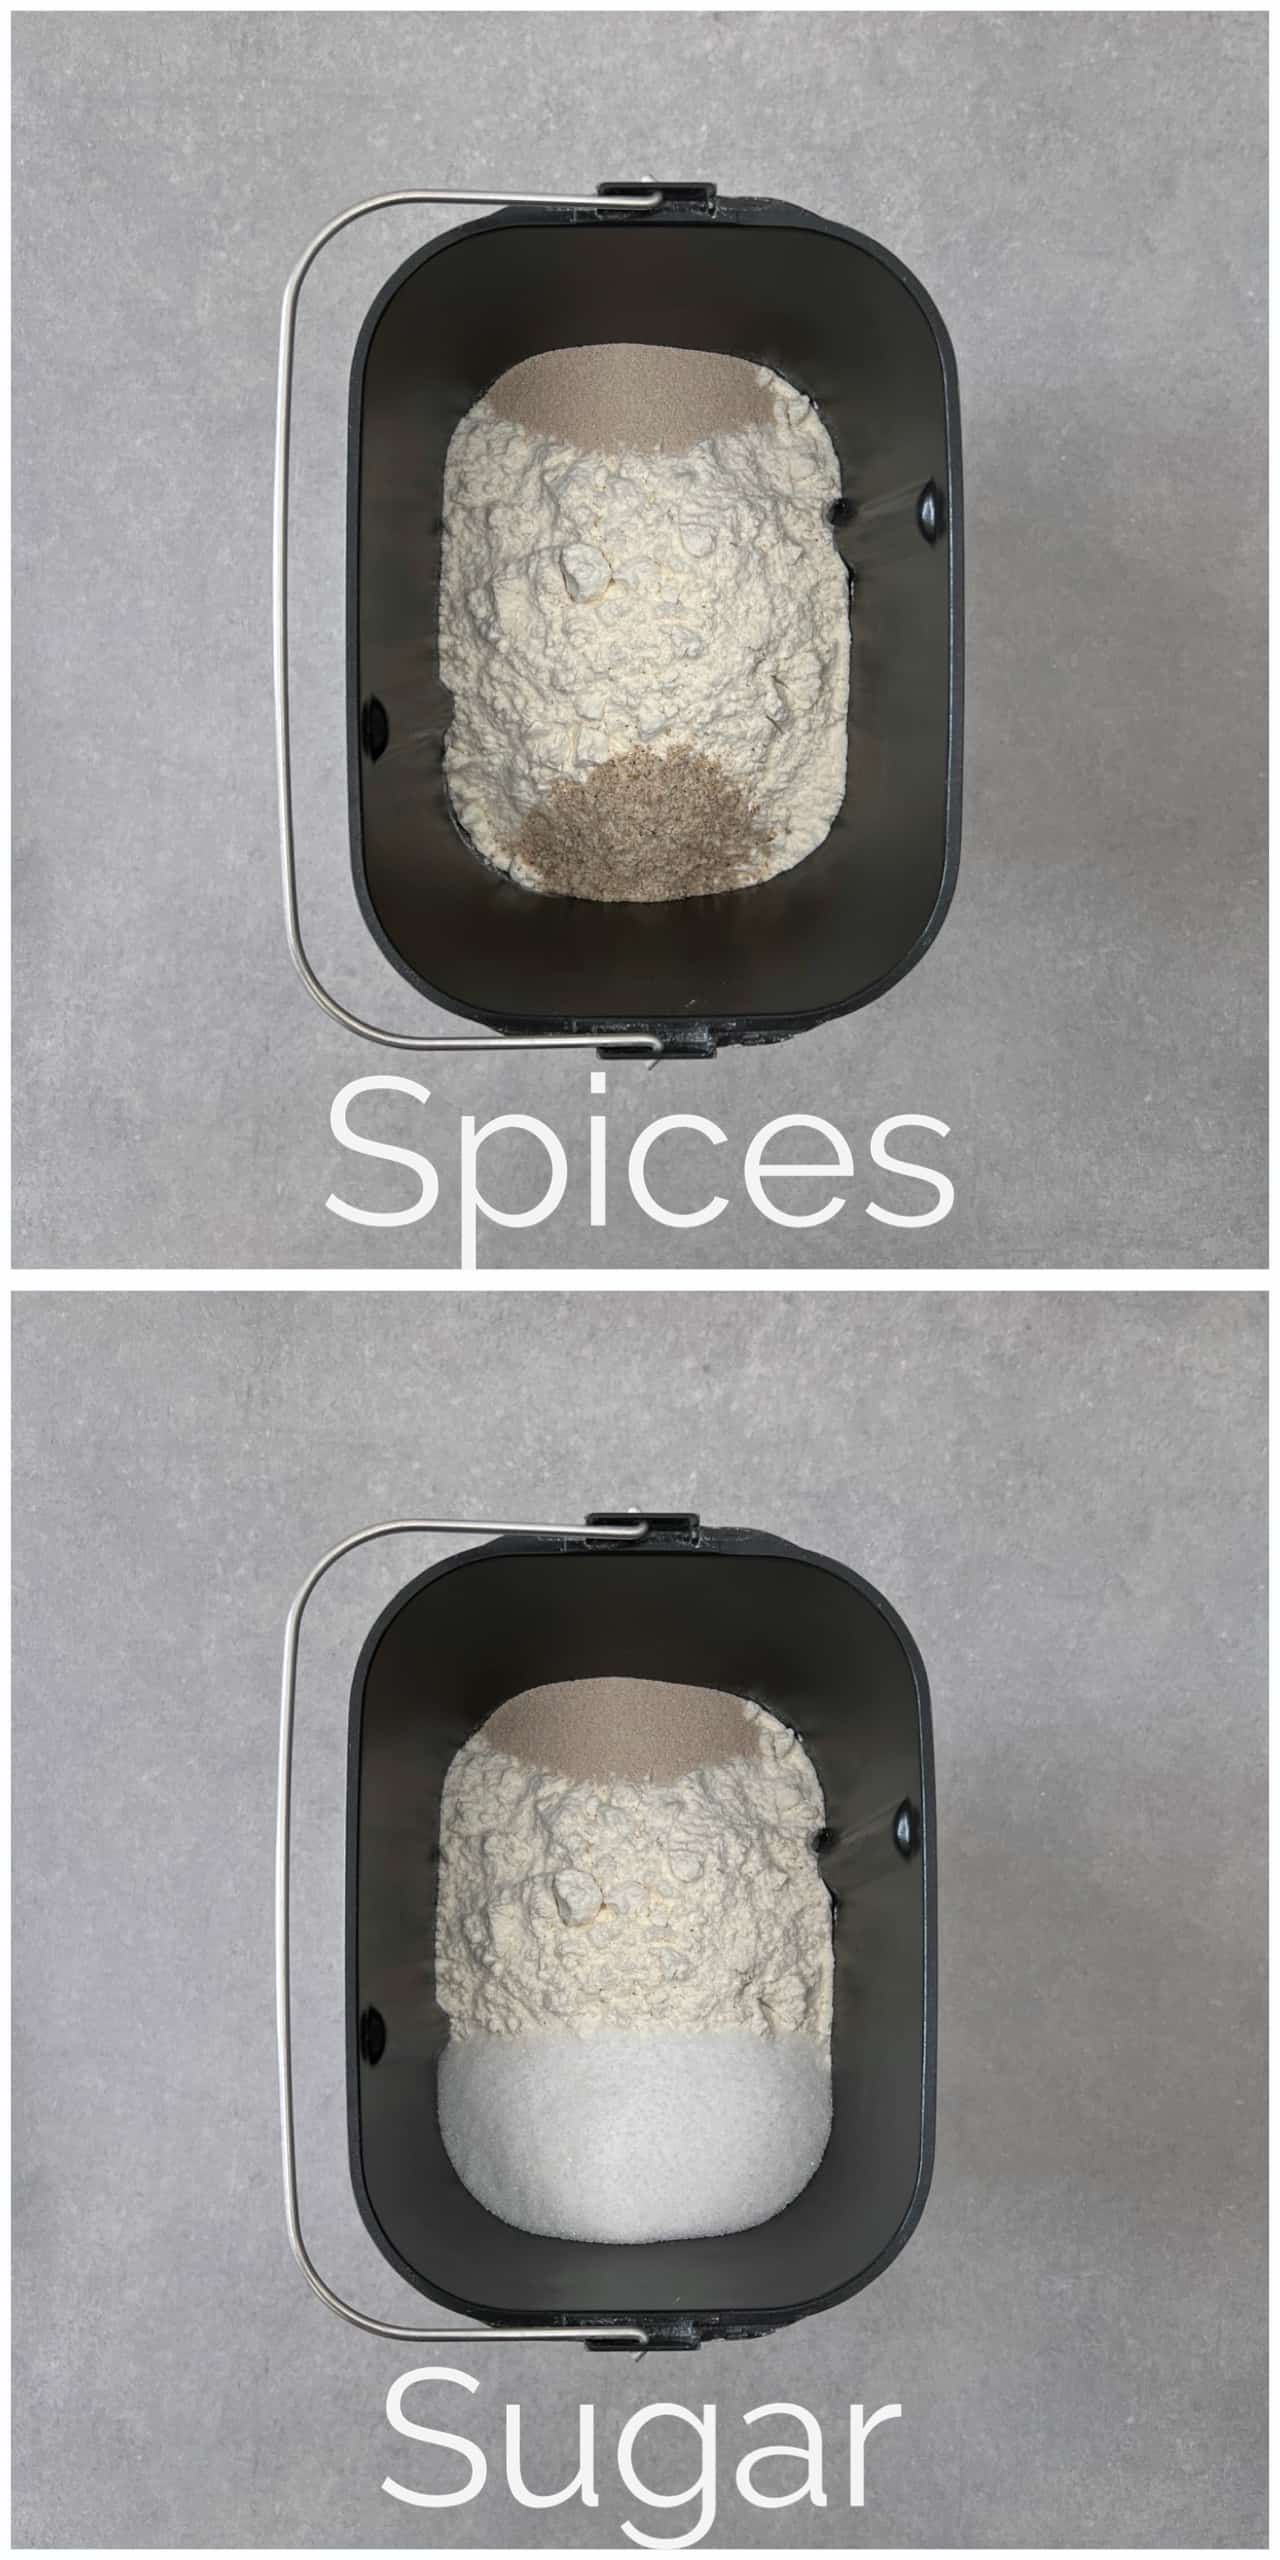
Then grind up your spices (cardamom, mahlab and the mastic tear drops) using a pestle and mortar. You want them to turn into a fine powder, so that no rough bits are left over.
I find that adding a teaspoon of sugar in the pestle and mortar bowl helps with the grinding process as it absorbs the moisture that may be left over in the seeds and it prevents the mastic from sticking to the bowl!
Once your spices are ground up, add them to the opposite side of the bowl together with the sugar and the salt as shown in the picture above.
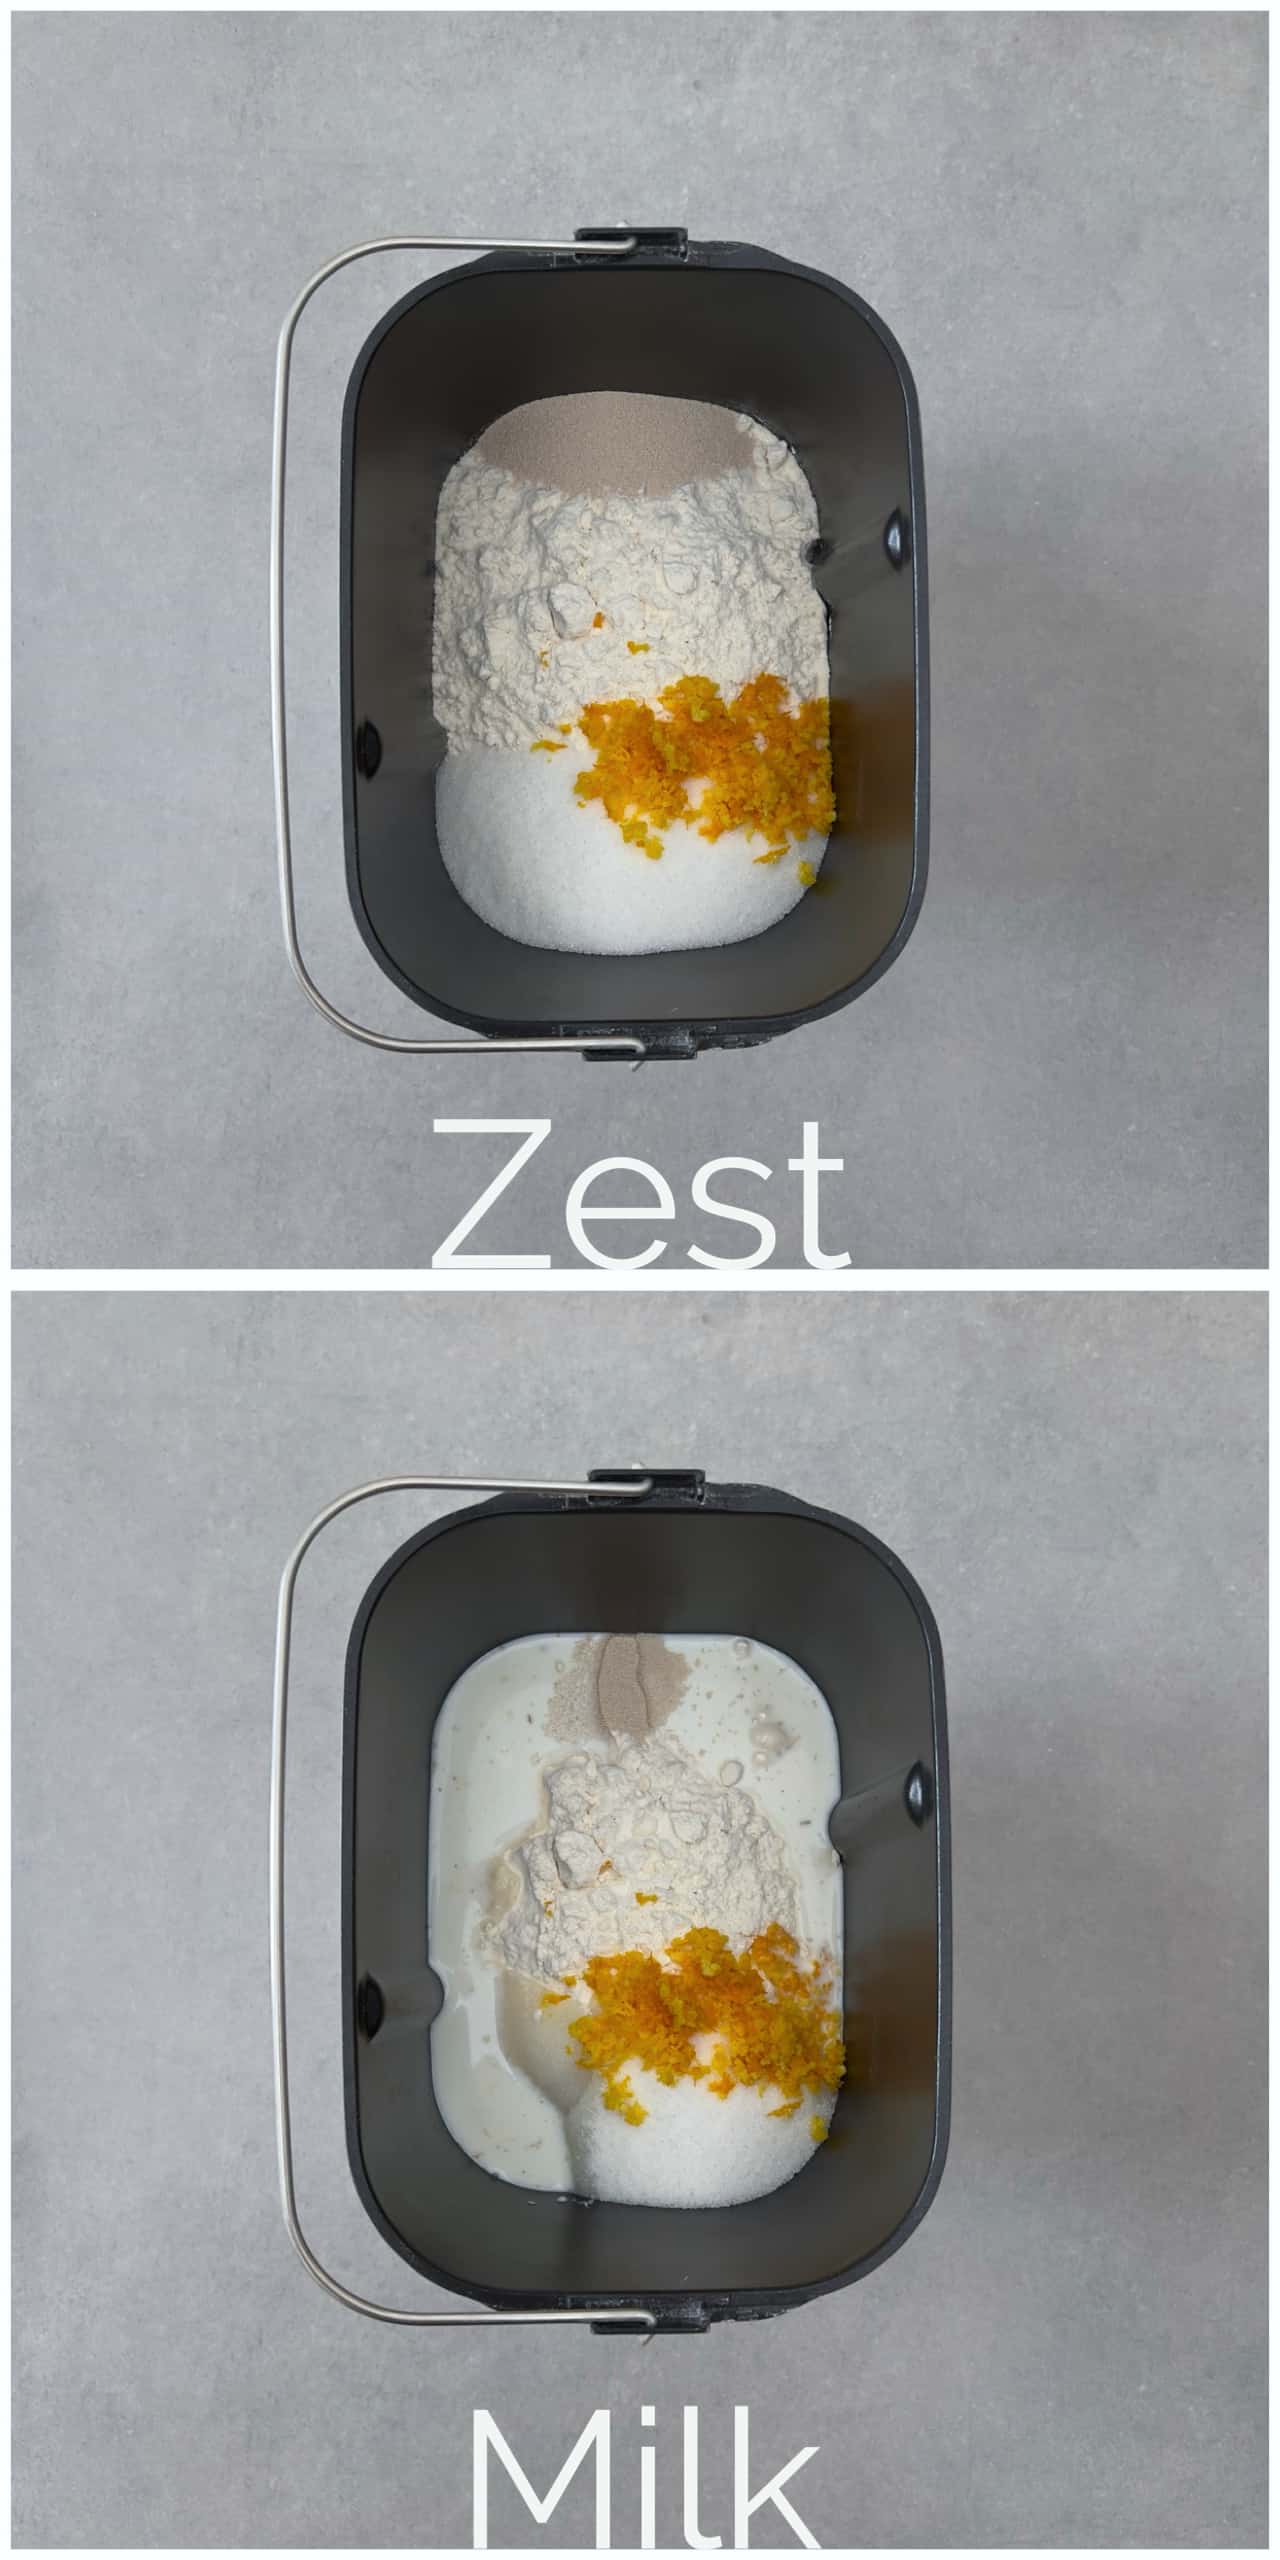
Now its time to start adding the final aromatics and the wet ingredients. Zest your orange in a bowl using a microplane grater or a box grater until the white bits are just starting to come off.
If you love an orange-y flavour, continue zesting the orange to include some of the white flesh. It contains a lot of aromatic oils, so it will give your tsoureki a more intense orange flavour!
Then pour the milk around the edges of your bread machine bowl as shown in the picture above. This will help the bread machine mix the ingredients together with no flour being left over stuck on the sides of the bowl!
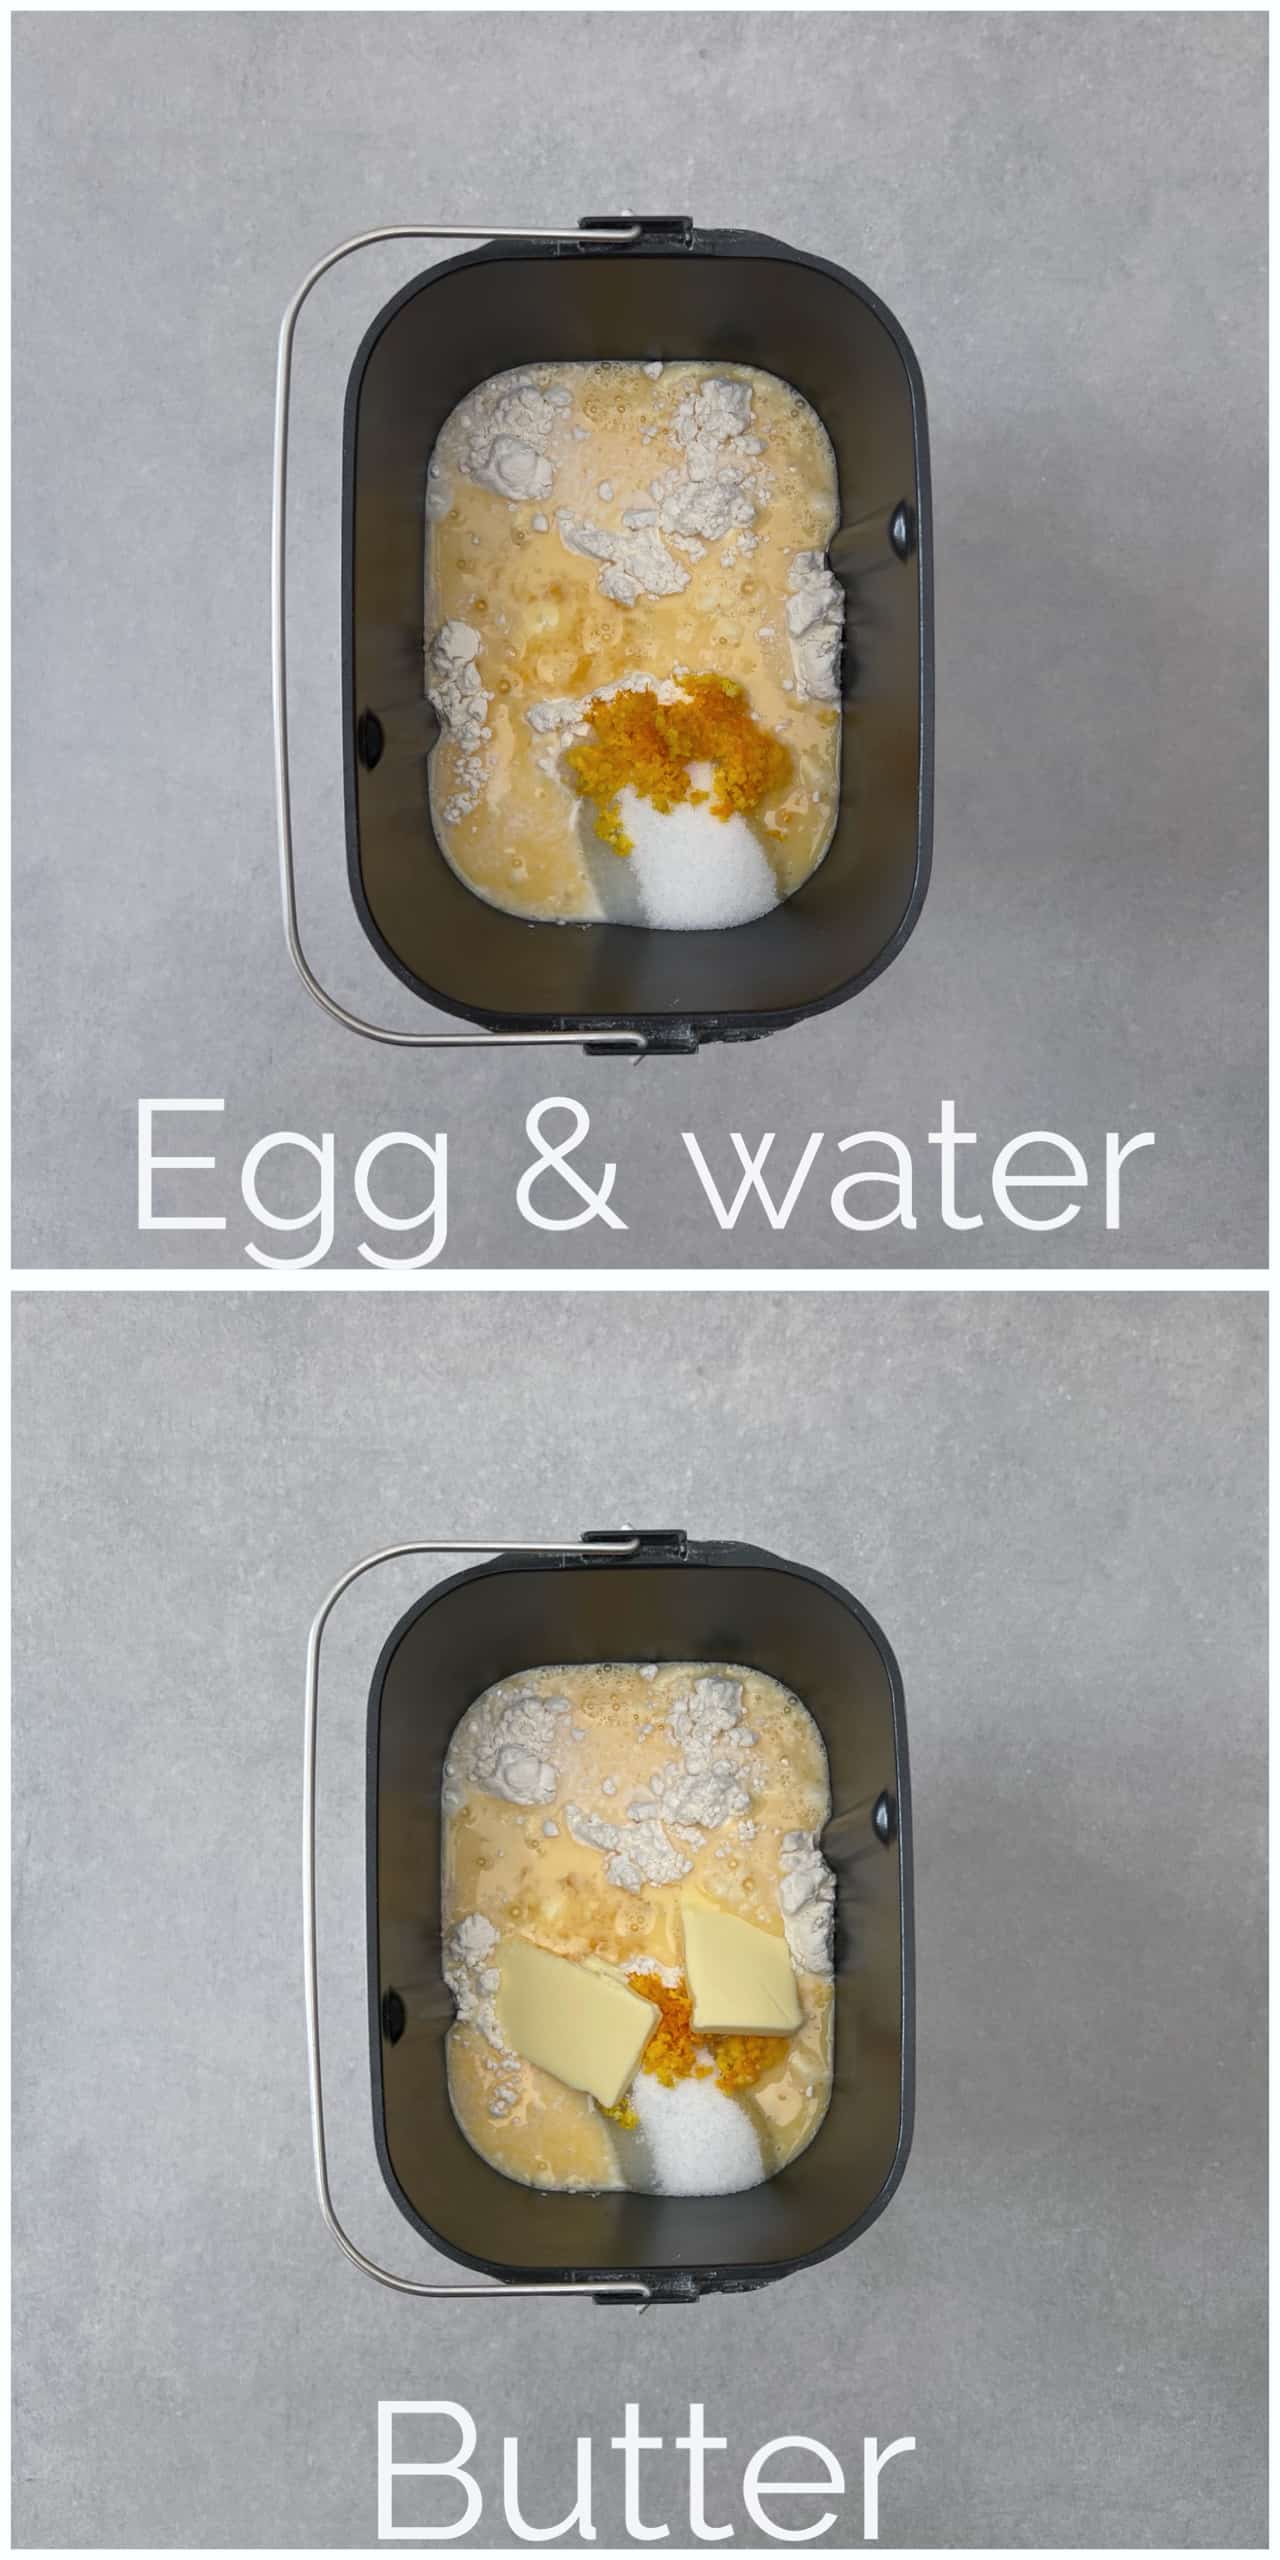
Proceed to crack your eggs in a bowl and whisk them together. Add the water to your eggs and whisk again to create an egg-water mixture. Pour your egg-water mixture around the edges of your bowl as shown in the picture above.
Finally, cut your butter in cubes and add half of it in the bread machine bowl. You need to hold on to half the butter to add in the middle of the kneading process. Why?
It’s because butter prevents gluten from forming in the dough. It coats the gluten found in the flour and it stops it from forming the deliciously stringy and stretchy strands that give the tsoureki its soft texture.
Now it’s time to set your bread machine dough cycle. Depending on your bread machine model you may have a brioche dough cycle. If so, use it. Half way through the kneading process it should stop, beep and let you know to add the remaining butter.
If your bread machine doesn’t have a brioche dough setting, use the plain dough cycle. Just remember to add the remaining butter half way into the programme!
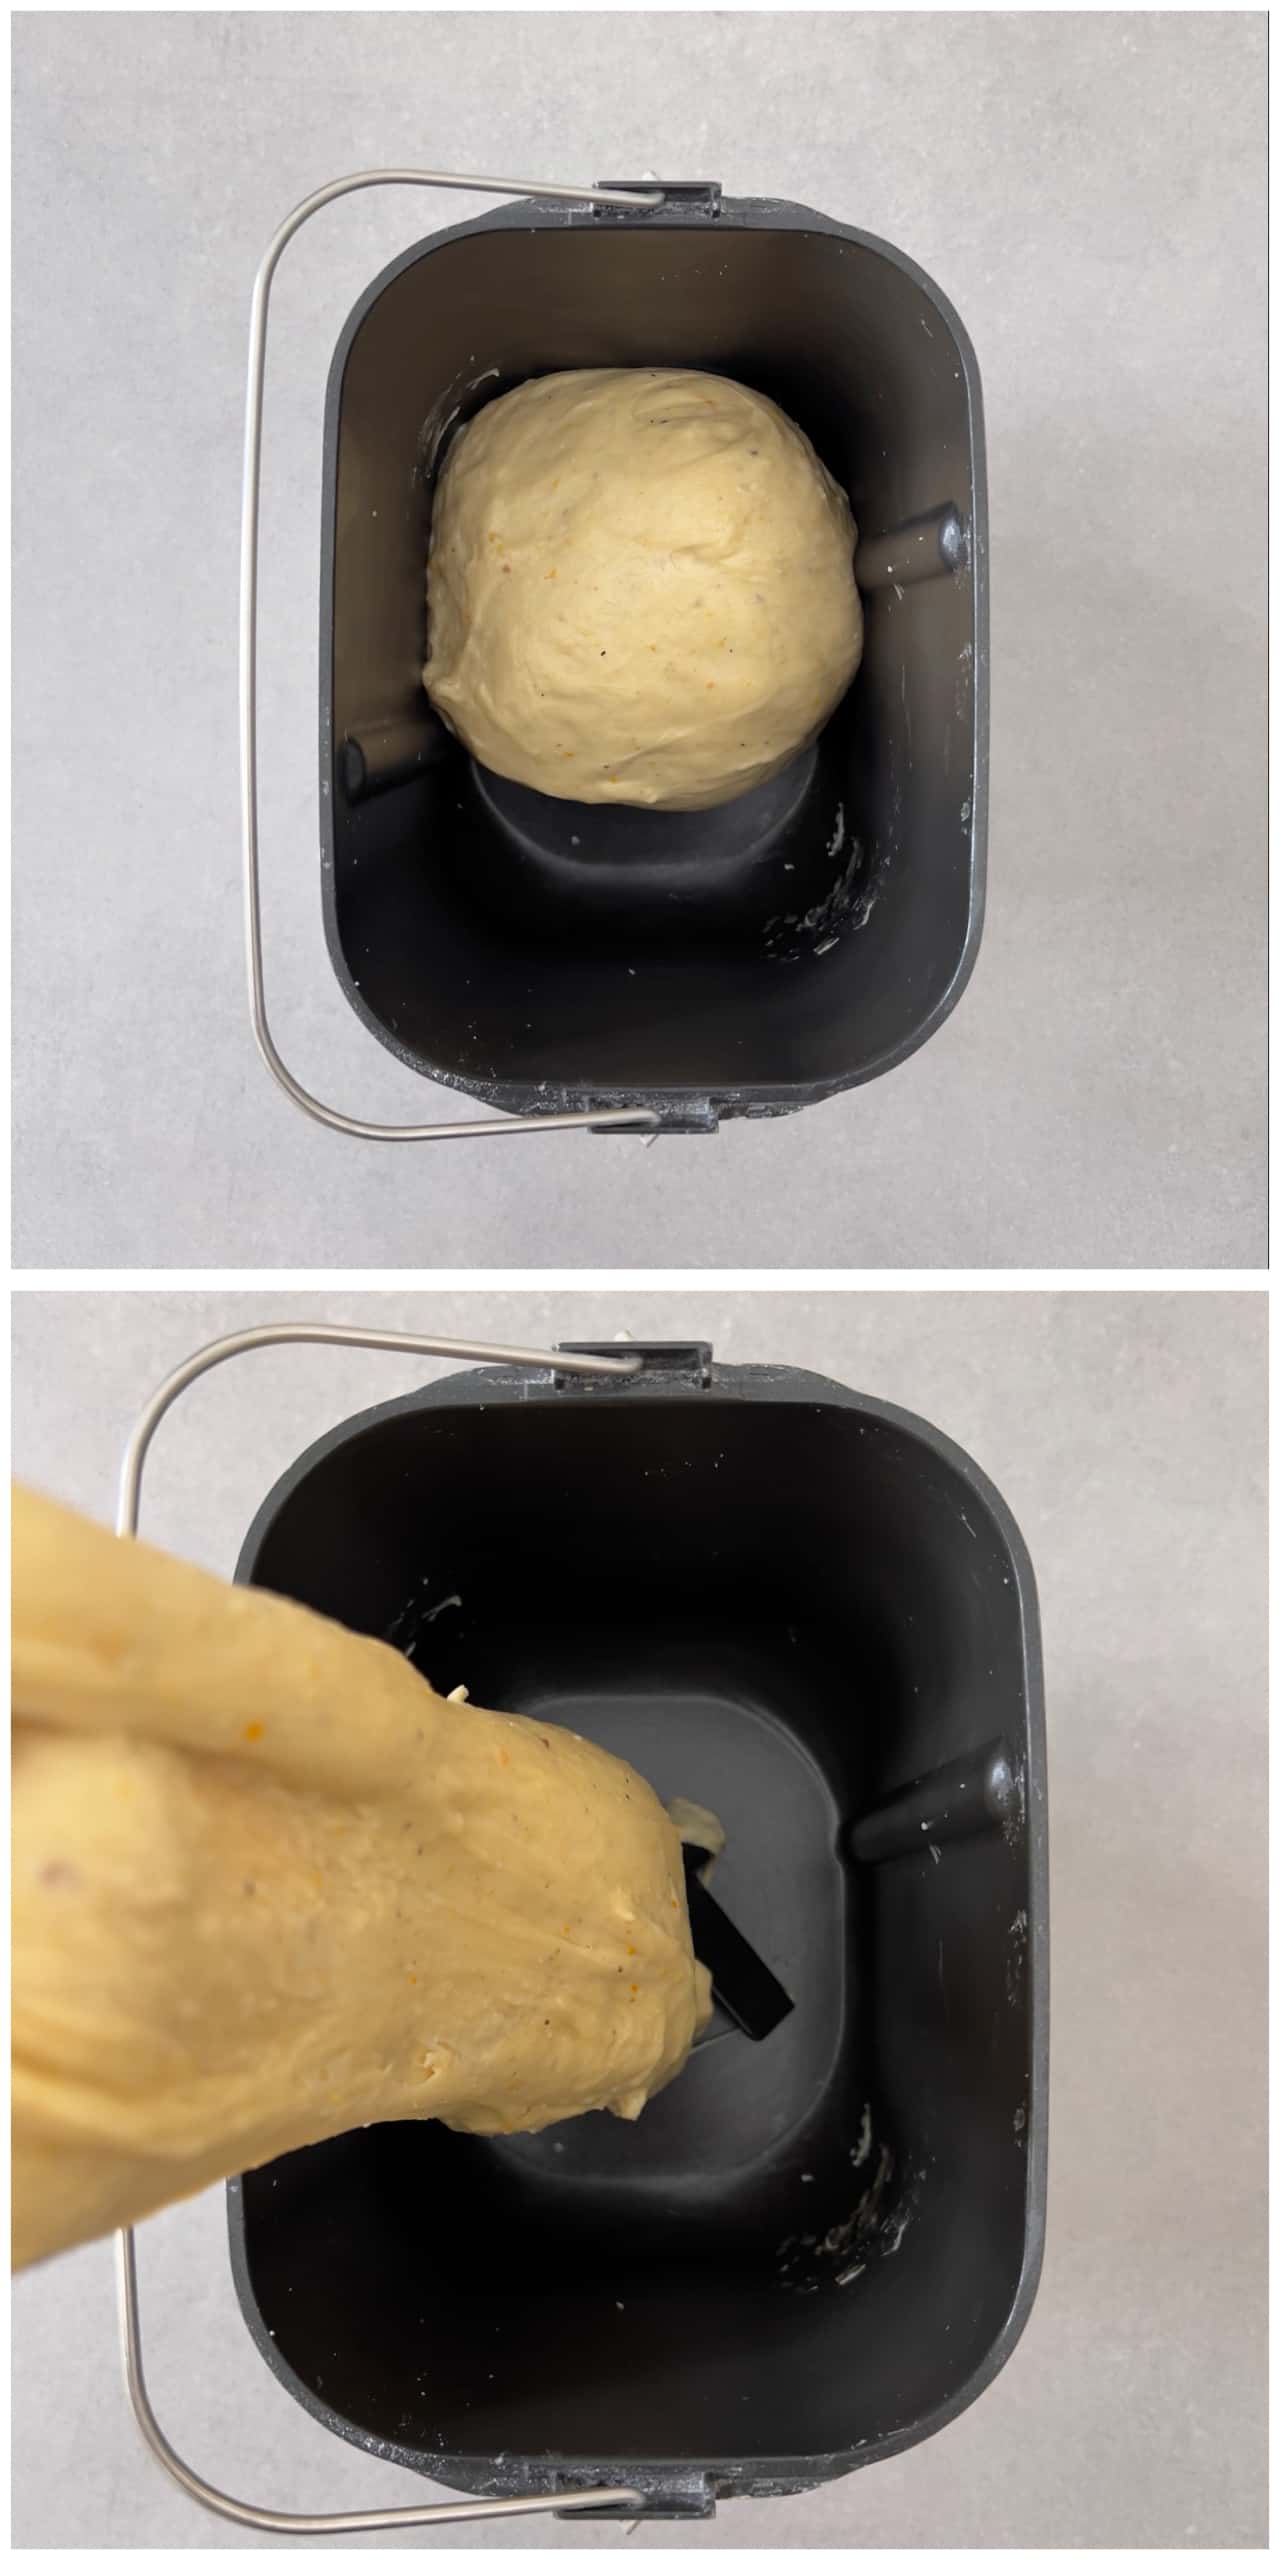
Once the dough cycle is done, the dough should be firm but slightly sticky and stretchy, almost like chewing gum, like the picture above!
Proofing your bread machine tsoureki dough
As the tsoureki dough is stiffer than a traditional brioche dough, it needs a lot longer to proof than most bread machine dough cycles allow for. Luckily there are a couple of ways to do that.
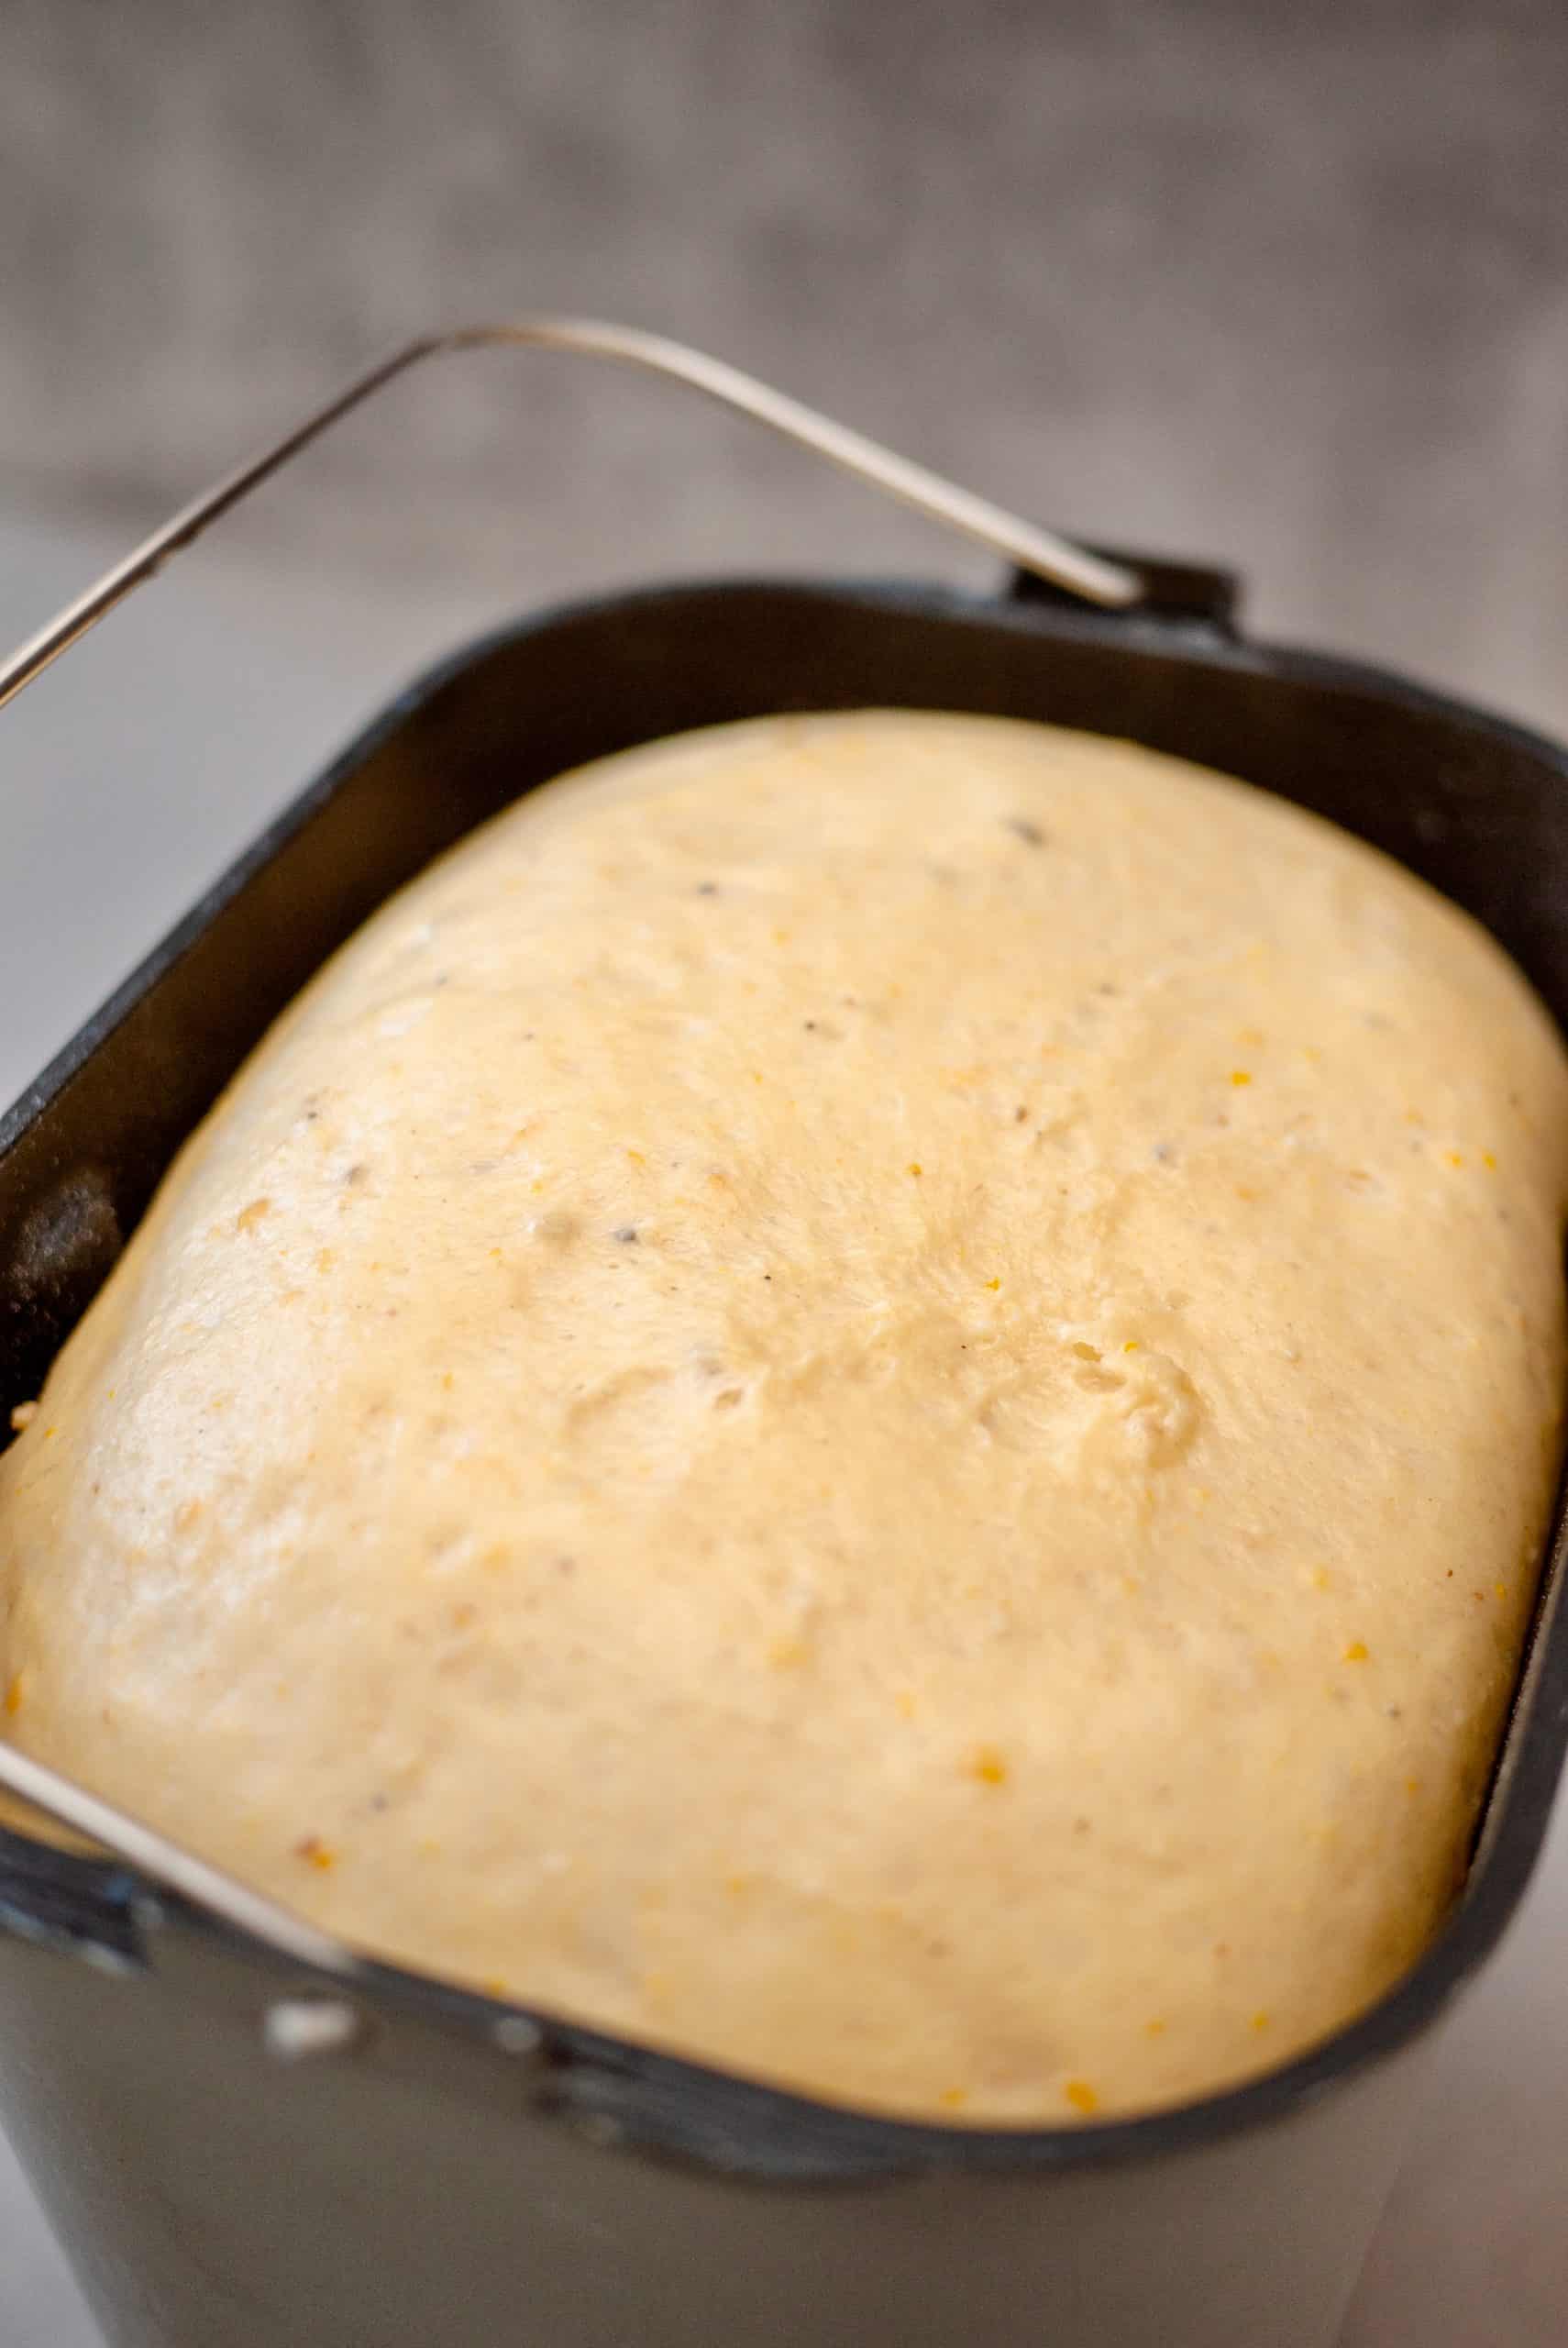
If your bread machine has a proofing setting, you are in luck! Set it and let the easy tsoureki dough proof for around 3 hours, or until it has doubled in size, as shown in the picture below.
If your bread machine doesn’t have a proofing setting but has a sourdough starter setting, use that. It does exactly the same thing, setting the bread machine temperature to 30C/86F which is the perfect temperature to proof doughs!
If you have an older bread machine model that doesn’t have a proofing or a sourdough starter cycle, then simply leave the tsoureki dough in the bread machine with the lid shut. It will take a little longer (around 4 hours) to proof as the temperature will drop, but it will still work great to proof your tsoureki dough.
Whichever way you use, the dough is done proofing when it has doubled in size, its puffy and is almost doming out from the bread machine bowl as shown below.
Give your bread machine tsoureki dough as much time as it needs to reach this stage. It should take around 3 to 4 hours, but if it needs a bit longer, let it do its thing.
Shaping your bread machine tsoureki
Once your dough is ready, its time to start shaping your tsoureki bread. You’ll need to tip out the tsoureki dough from the bread machine bowl, gently deflate it and split it into three equal portions. I always use my scale to weight the dough and make sure the three portions are of the same weight.
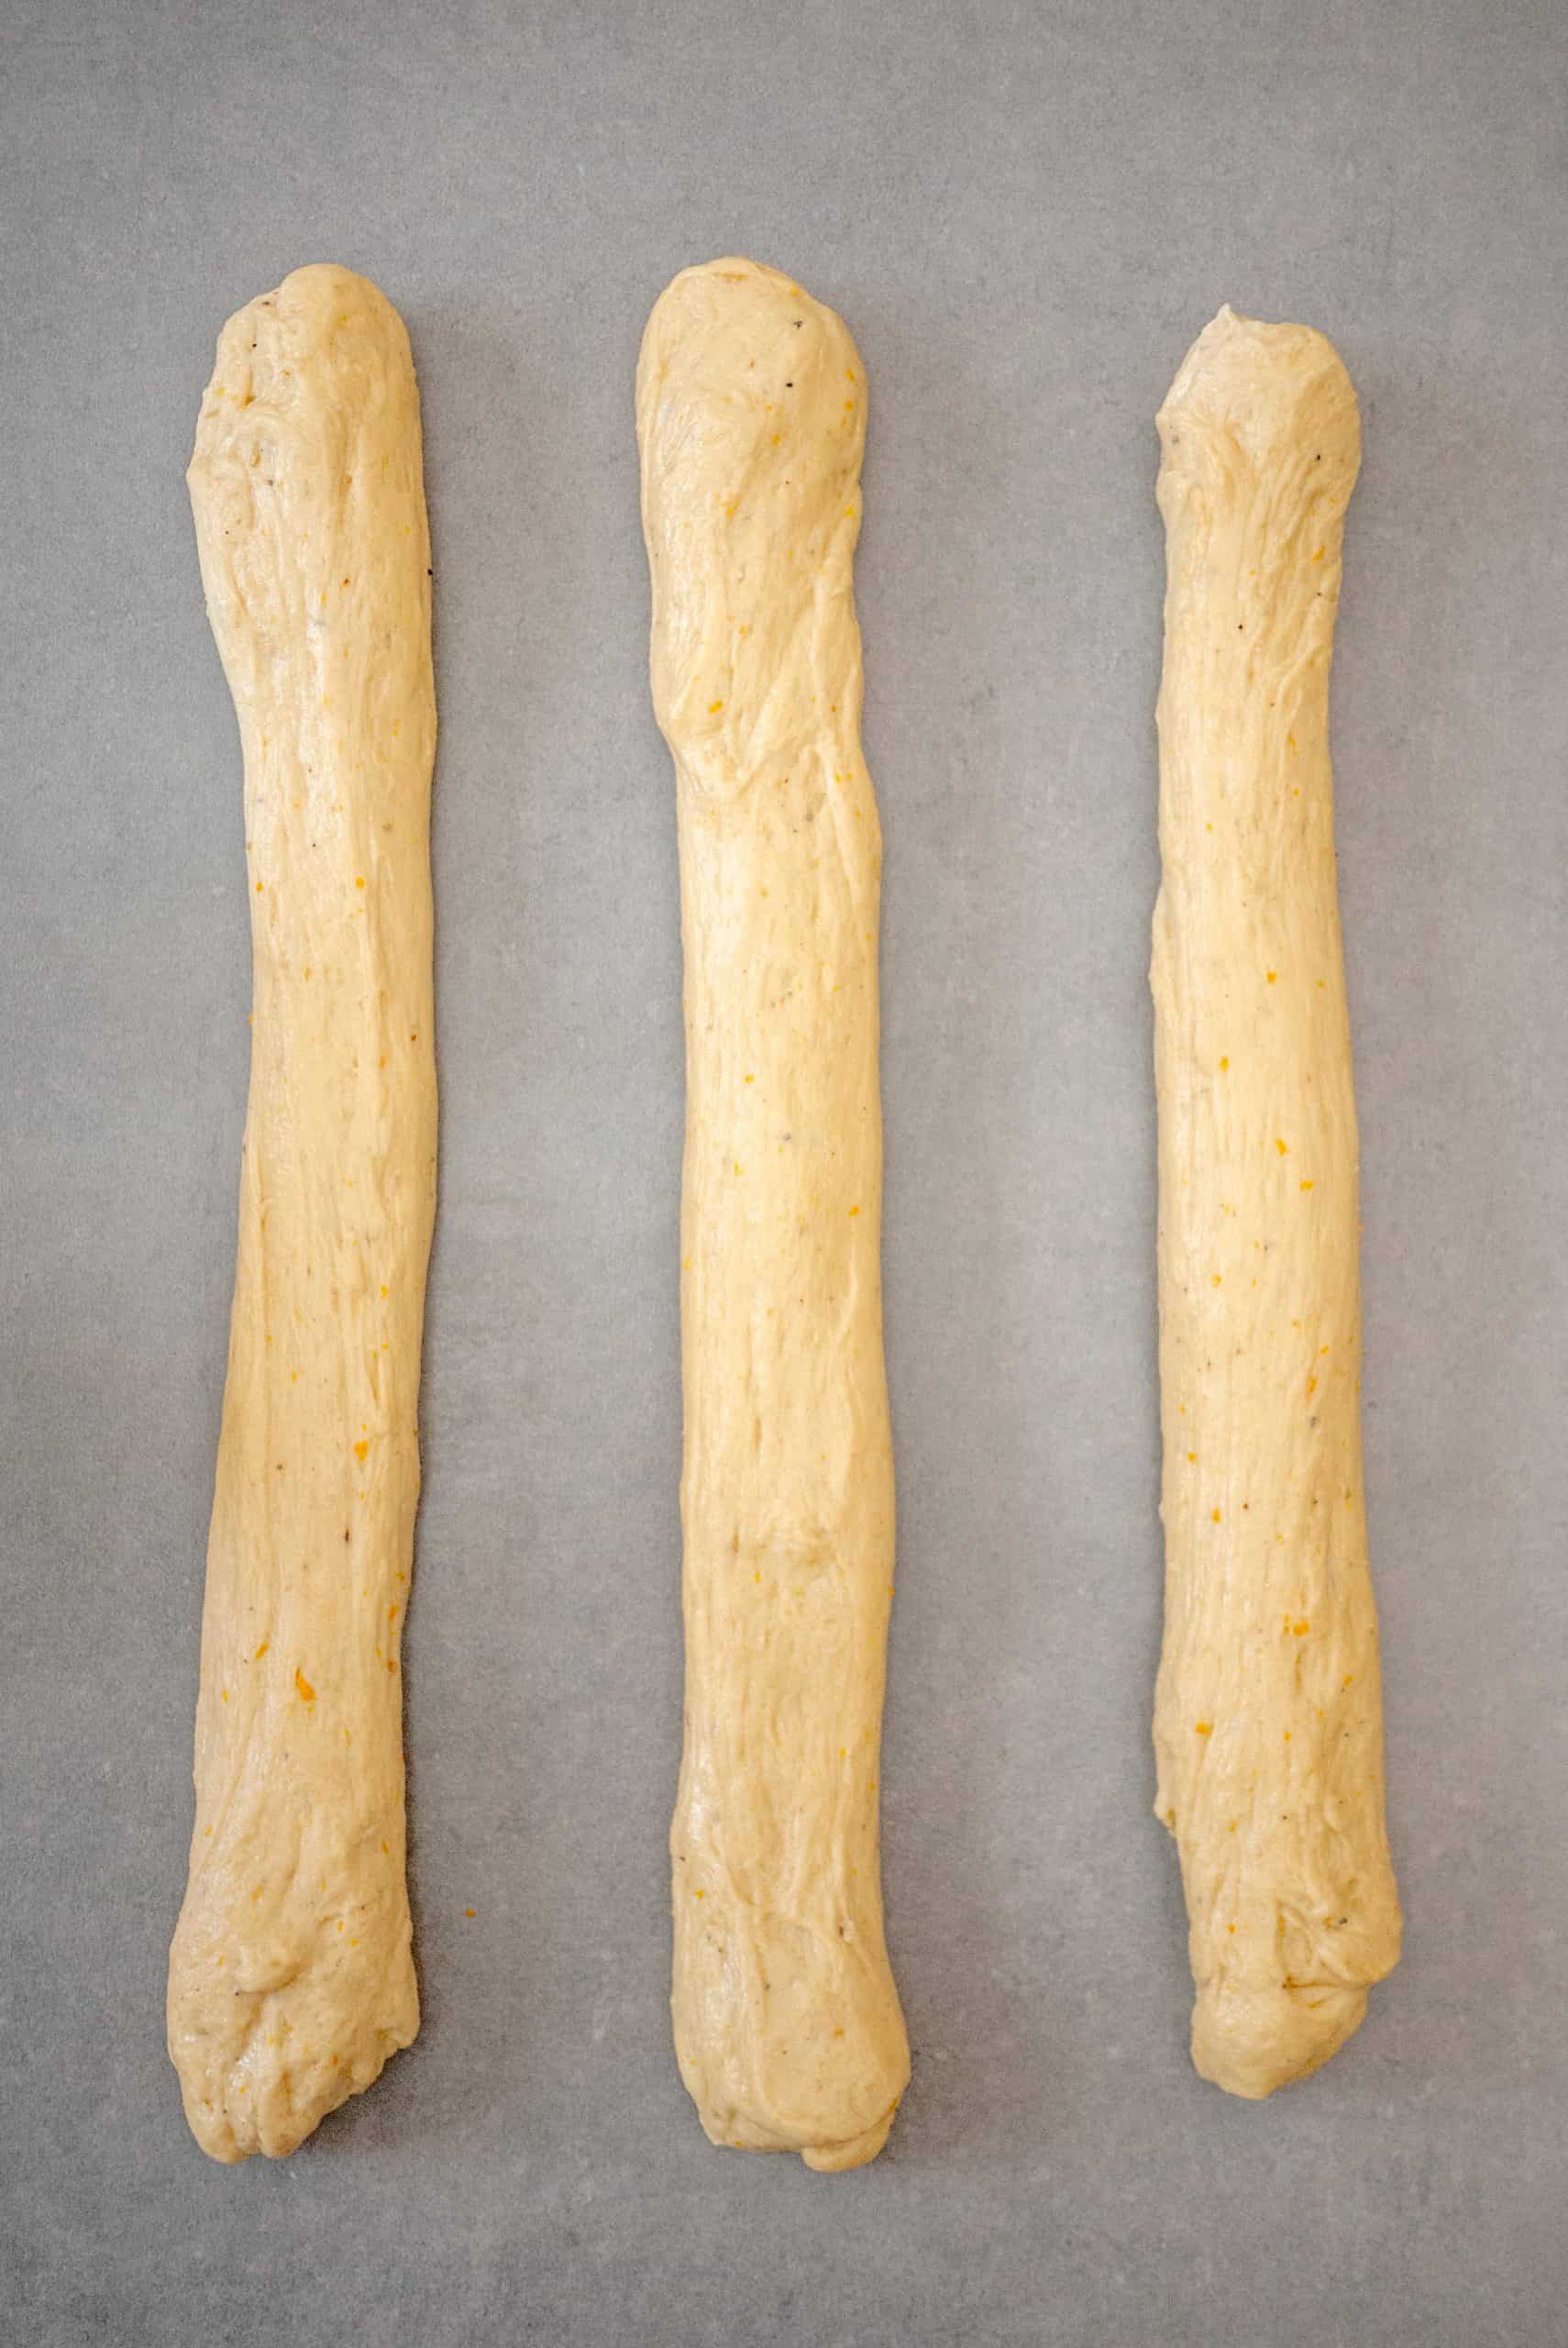
Once you’ve portioned out your tsoureki dough, roll it gently with your hands and then grab it from the edges and shake it gently to shape it into a rope. Your three tsoureki dough “ropes” should end up being around 60cm/24 inches long, like the picture below.
After you’ve got your dough stretched out into dough ropes, it’s time to start shaping the tsoureki braid. Pinch the top of the three dough ropes together.
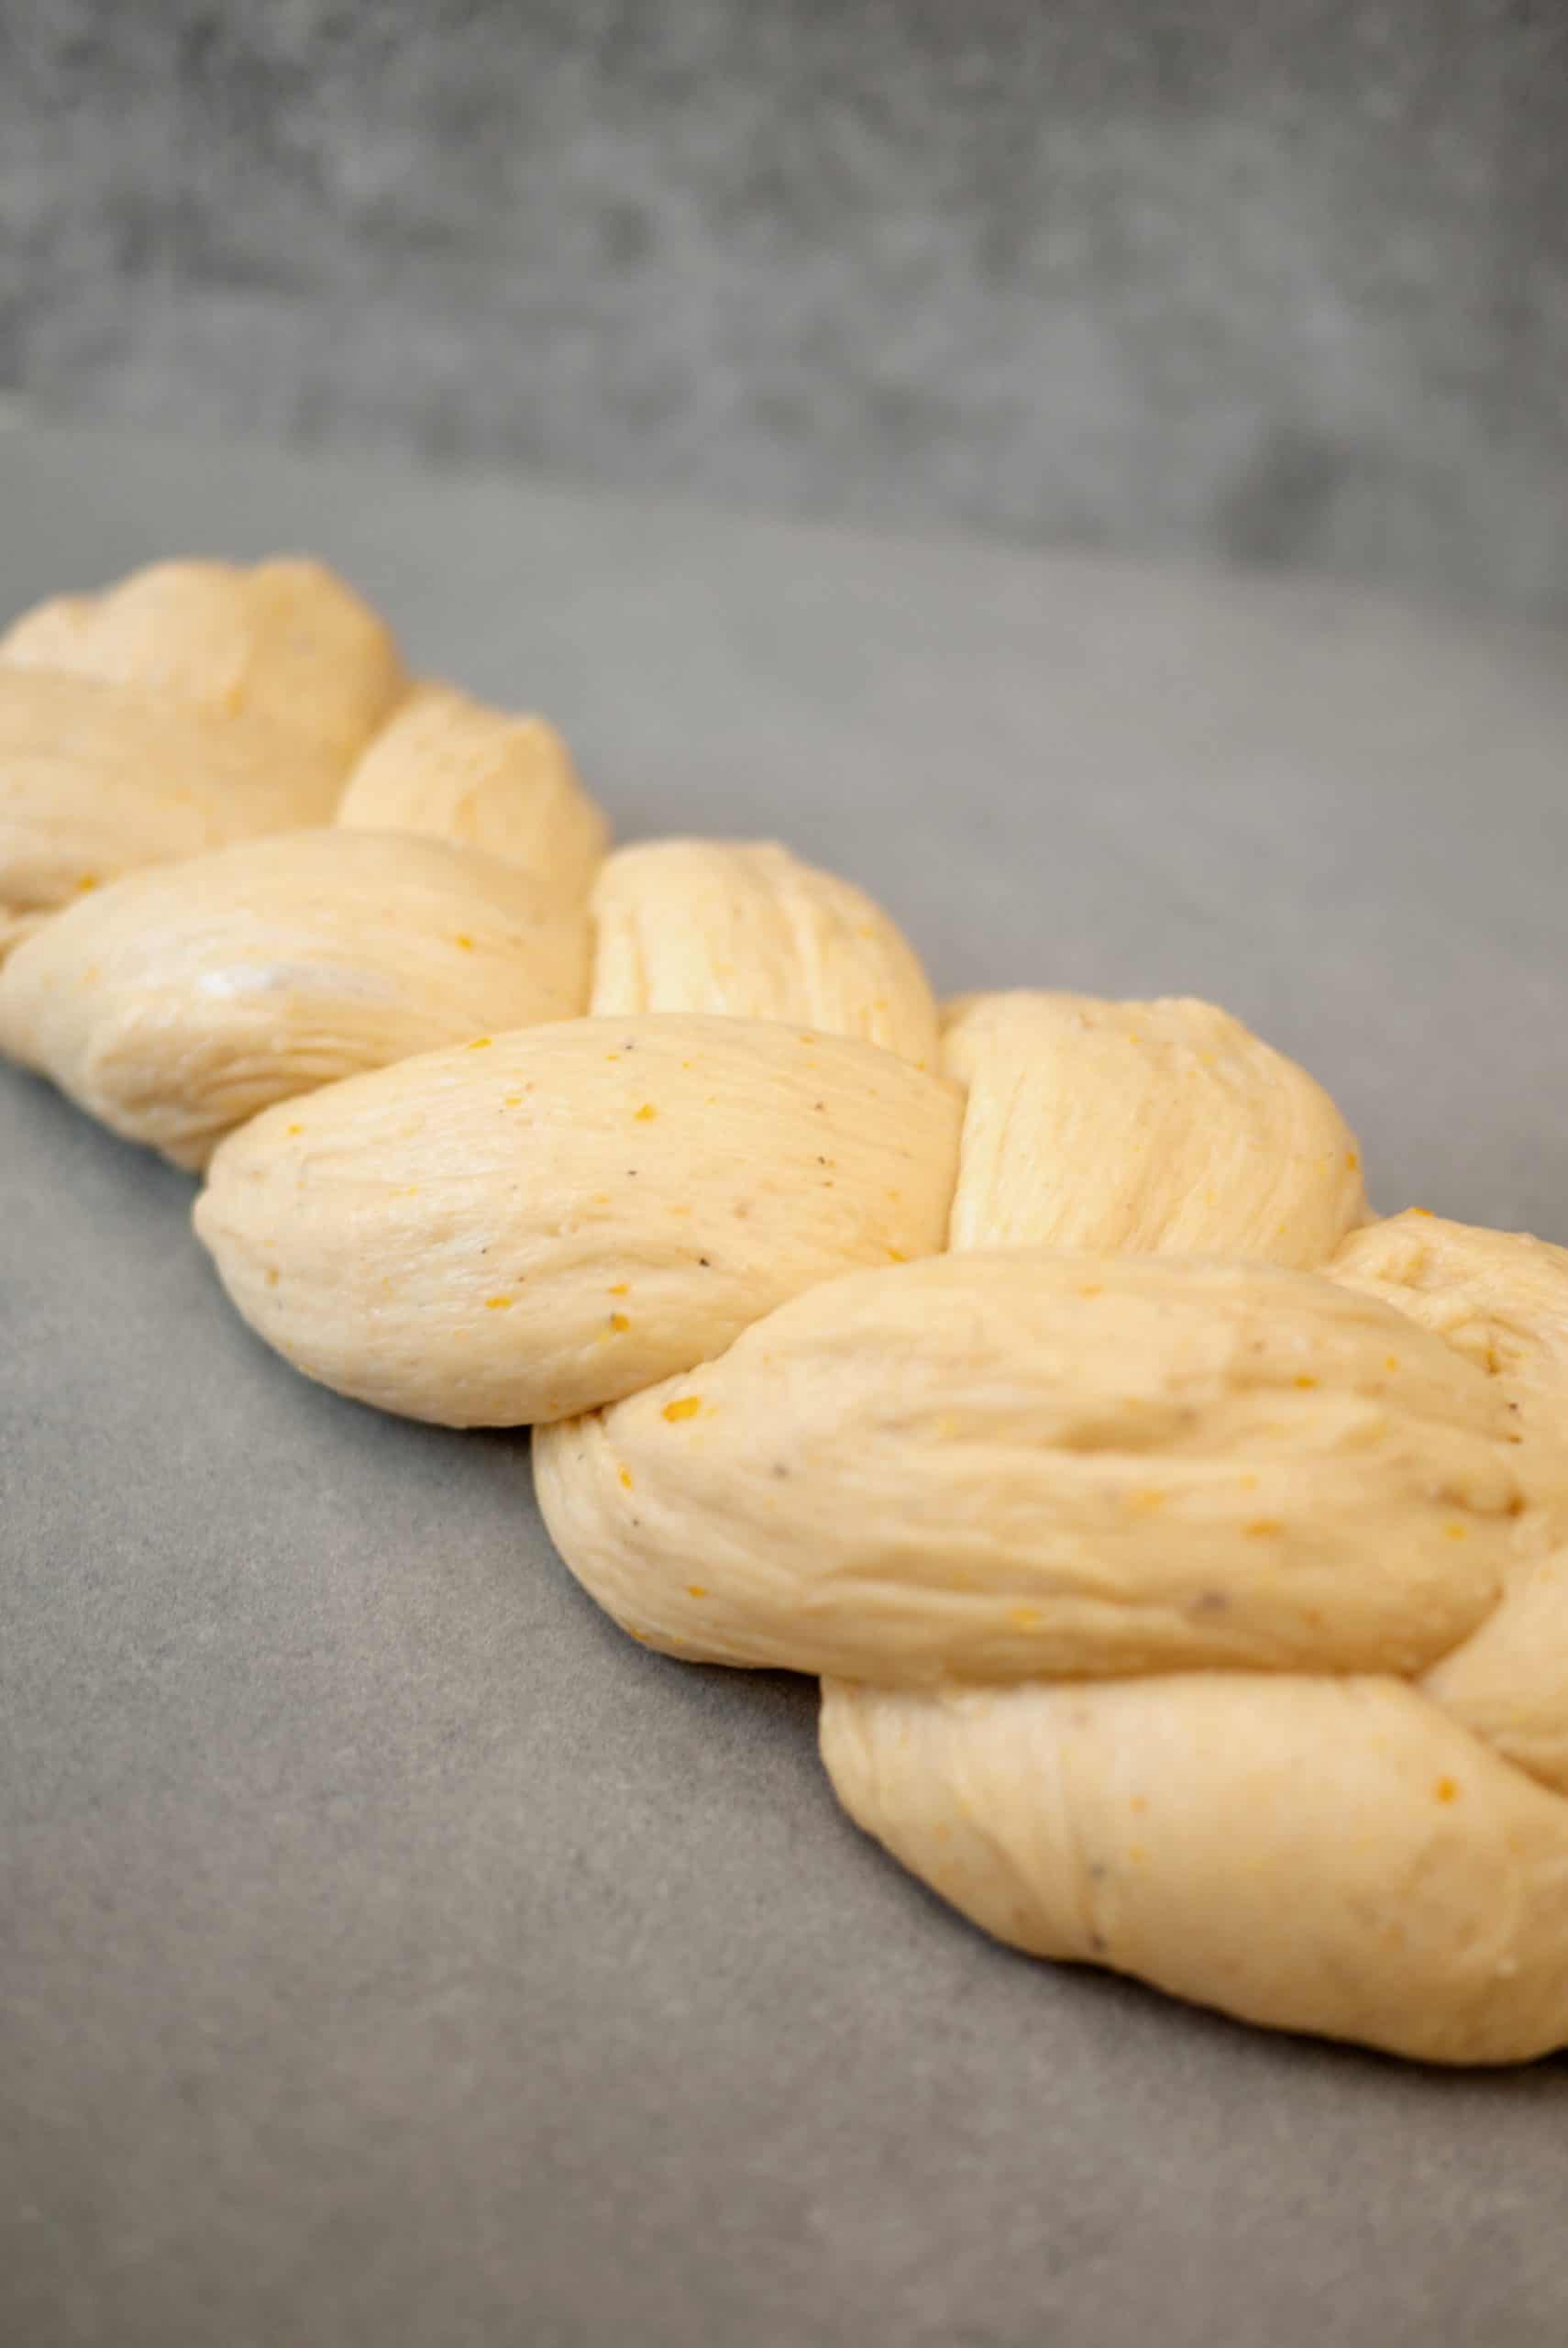
Then bring the middle rope over the left one. Now, bring the now middle rope over the right one. Carry on until your braid is complete. Make sure your braids are barely tight. You want space for your dough to expand when proofing.
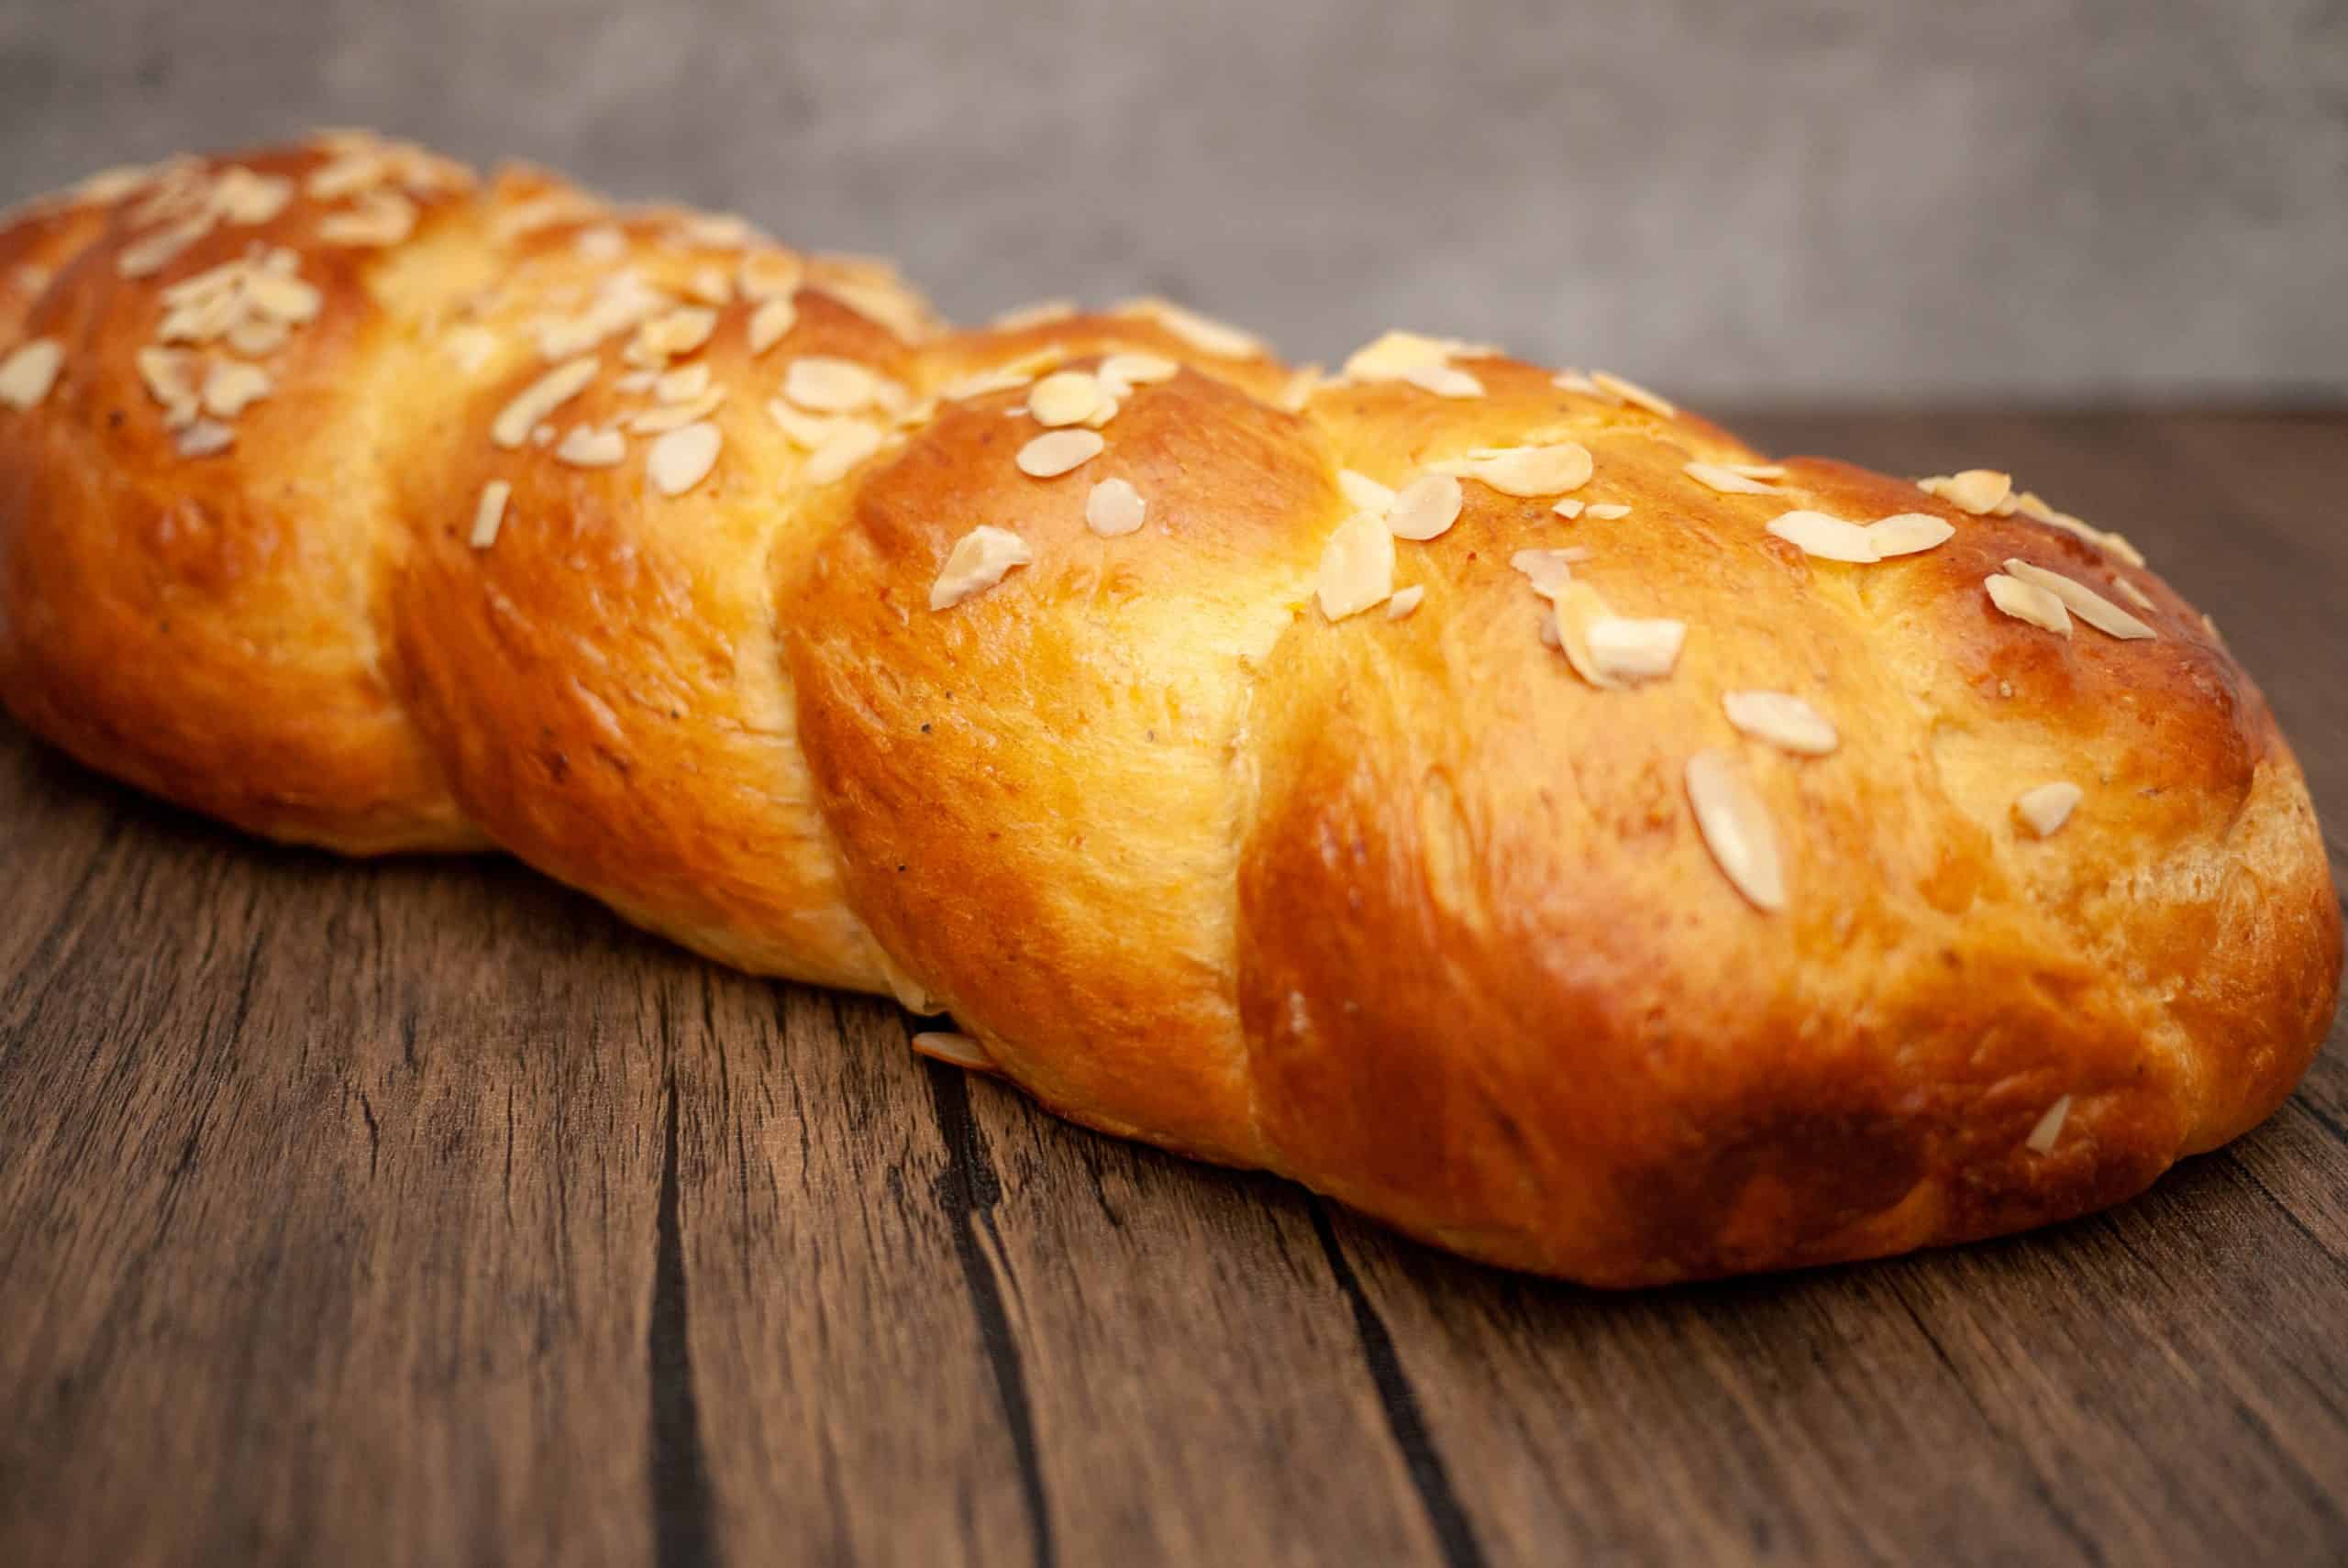
Once done, tuck the ends under the dough so your ends are nice and round. Now your tsoureki dough should look like the picture below.
Finally transfer your dough onto some parchment paper and then into a deep baking dish. Cover with some cling film and set aside to proof for around 1 to 1 and a half hours or until the dough has doubled in size again.
If your room is cold, use the oven trick again – turn on the oven light and place your dough in it. It will keep it warm enough and speed up the final proof.
Decorating and baking your bread machine tsoureki
Once the tsoureki braid has doubled in size and looks nice and puffy, its time to decorate and bake it. Preheat your oven to 160C / 320F fan. Crack your last egg in a bowl, add the water and whisk with a fork. This will become the glaze for the tsoureki.
The egg wash serves three purposes – it gives your dough that golden brown color, it softens the dough so it doesn’t crack as it expands in the oven and it allows your almond slivers to stick to the tsoureki!
Next, grab a pastry brush, dip it in the egg wash and gently brush the tsoureki with the egg wash. You want enough egg wash to cover the tsoureki all around and where the braids meet.
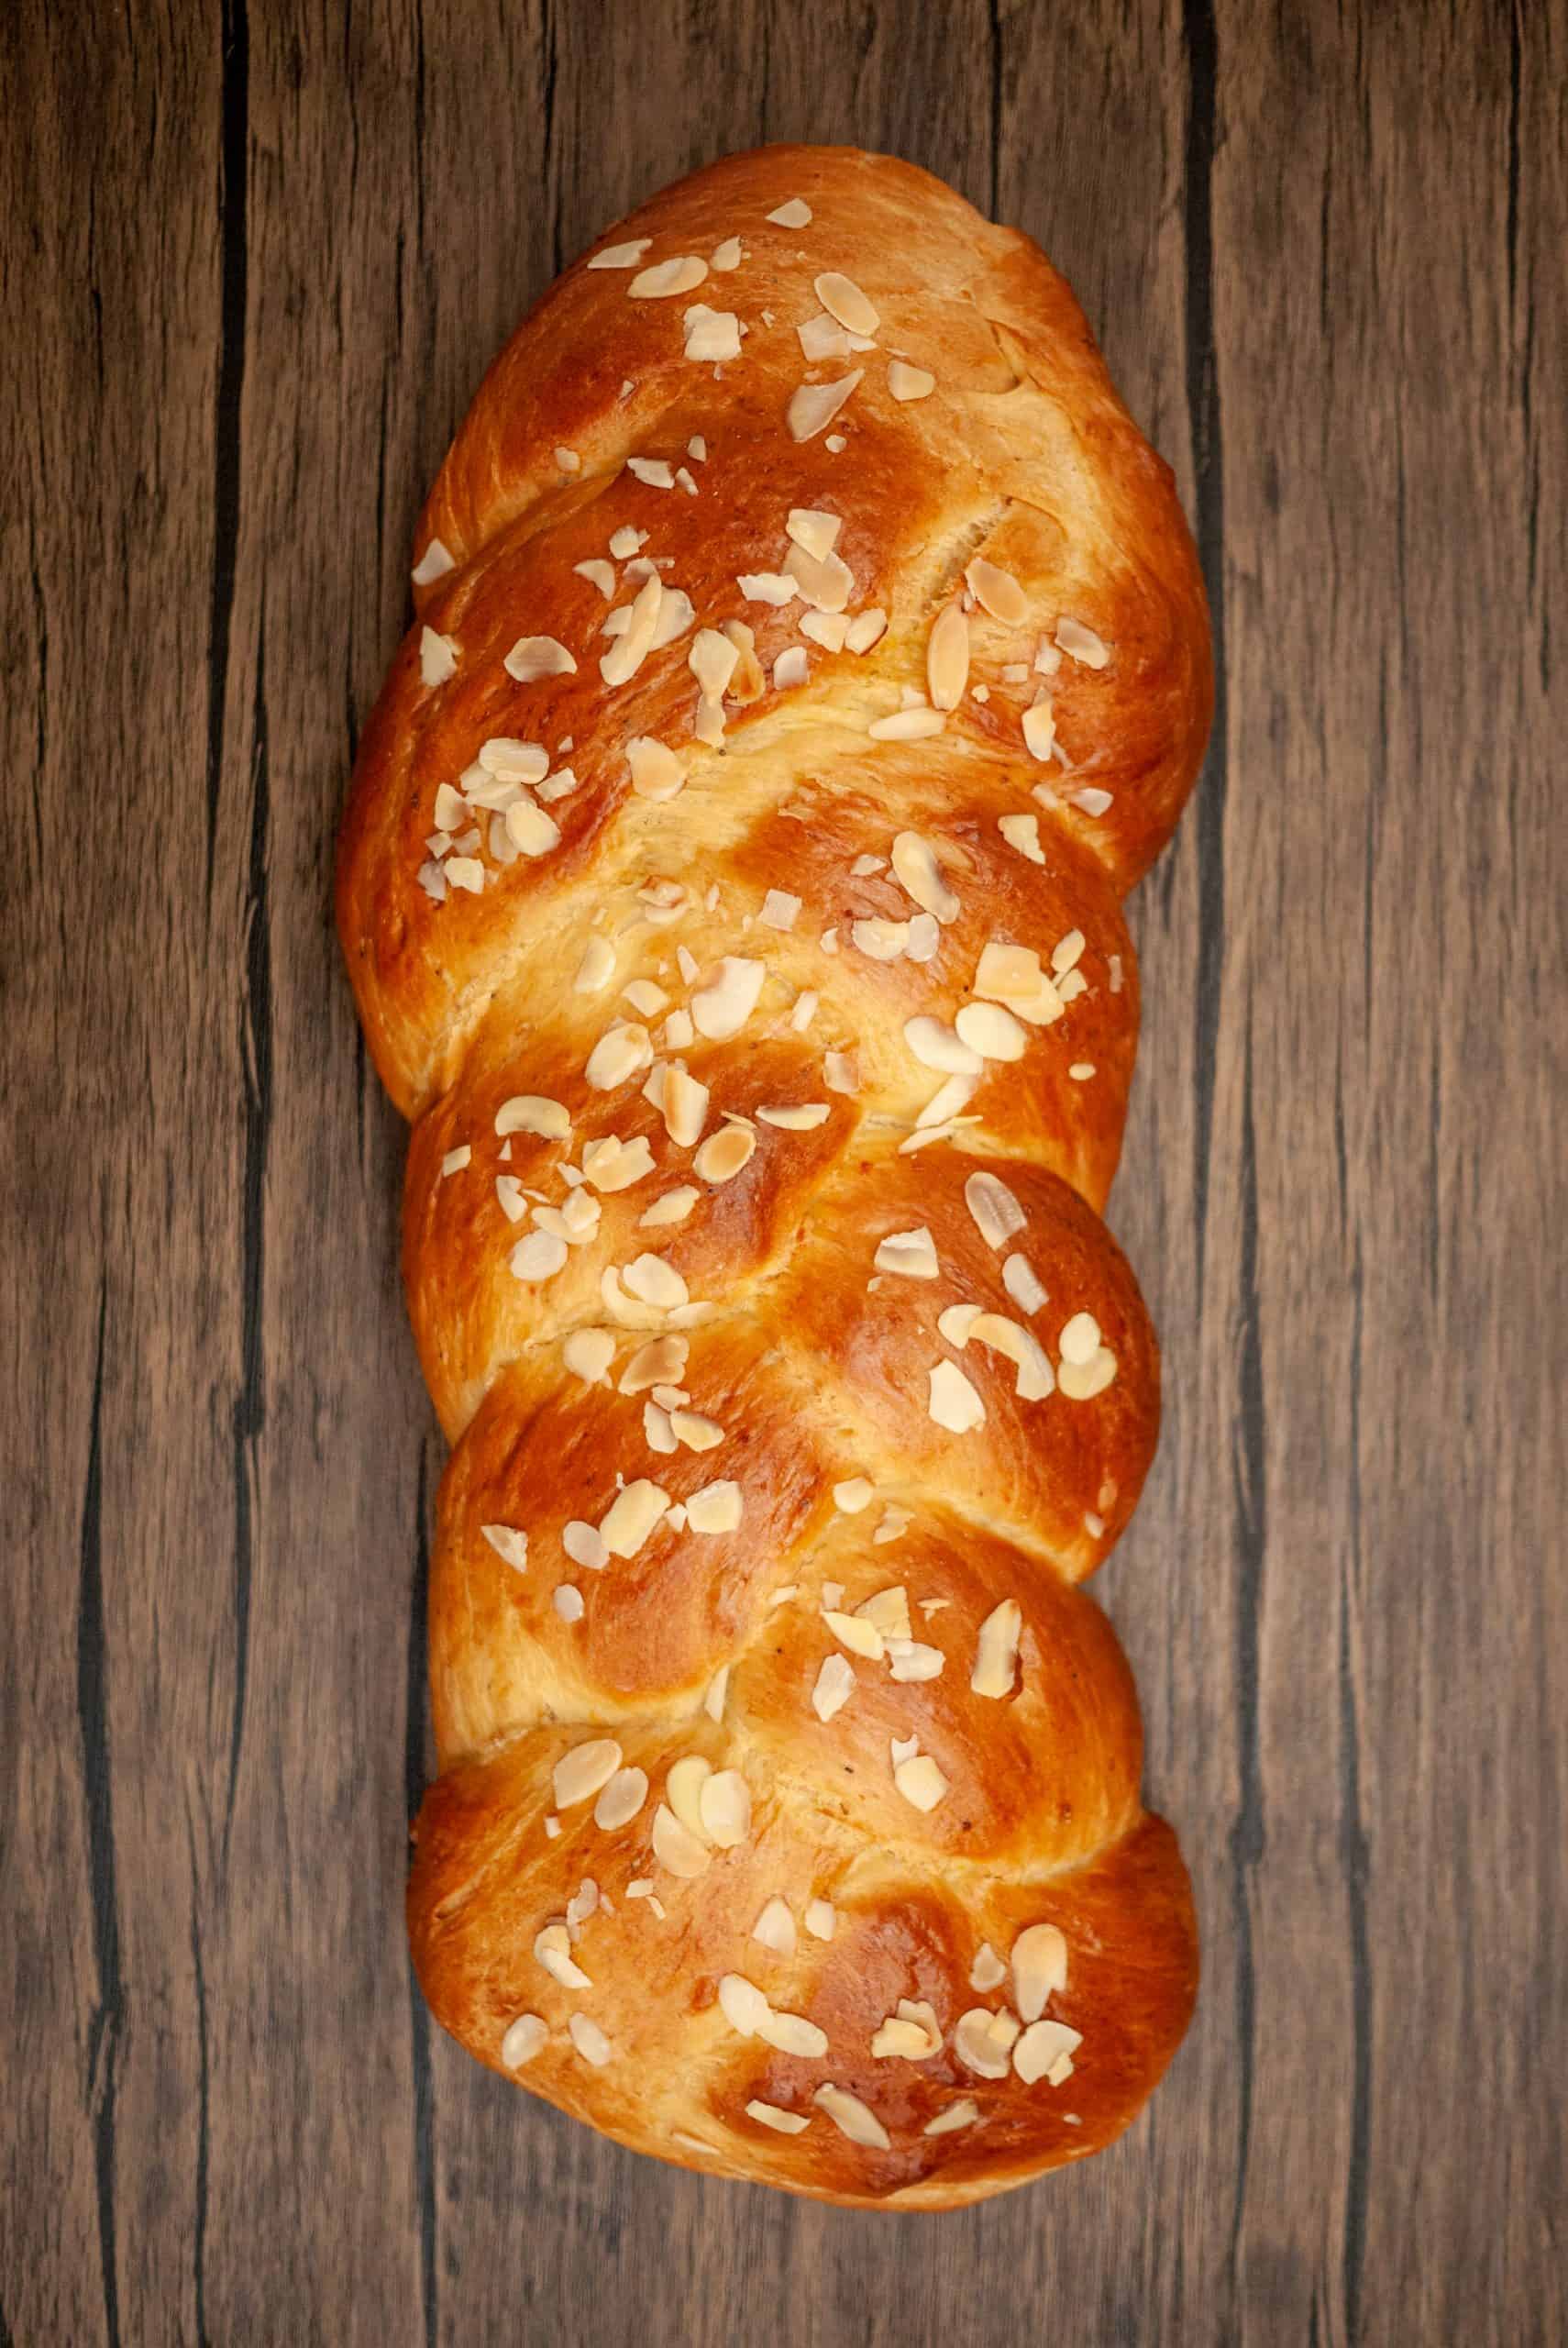
Finally, sprinkle on your almond slivers and put your easy tsoureki in the oven. Bake it for approximately 45 minutes or until golden brown throughout. As most ovens don’t distribute their heat evenly, half way through the baking time rotate your baking tray to make sure all sides of your tsoureki brown evenly!
Tip: If you notice that your tsoureki browns too quickly, cover it with some aluminium foil.

Troubleshooting
- My tsoureki did not rise: There could be two causes for this. Your yeast could have gone stale or the room temperature is too cold. Test your yeast by adding a spoon full in some Luke warm water with a pinch of sugar. If it foams after 10-15 minutes, the yeast is working. If your room is too cold, simply pop the tsoureki dough in your oven with the oven light on. If your home is extra cold boil some water, put it in a pan and place it in the rack underneath the tsoureki dough. This will supercharge the proofing process!
- My tsoureki is cracking on top: If your tsoureki has cracked on top its because the second proof was not complete before baking it. To prevent it from cracking on top, the braided tsoureki dough needs to double in size before baking. Finally make sure you use plenty of egg wash and sprinkle some where the braids meet to soften the dough and allow it to stretch when baking.
For more tips and tricks dont forget to also check out my traditional Greek Tsoureki recipe, made using a stand mixer.
How to store your bread machine tsoureki
To keep your bread machine tsoureki fresh, make sure you cover it tightly with some cling film. This helps lock in the moisture and as an added bonus, it softens the crust, making it even more delicious!
As the tsoureki contains eggs and butter it will keep fresh for approximately 5 days if kept at room temperature. If you want to keep it for longer, simply slice it, wrap it in cling film or put it in some large freezer bags and pop it in the freezer where it will keep for 2-3 months.
When you want to eat it, simply take a slice out and pop it in the microwave for 30-40 seconds on full heat. It will taste as good and soft as fresh!
More traditional Greek Easter Recipes
If you love my easy tsoureki recipe then my handpicked recipes below are made for you!
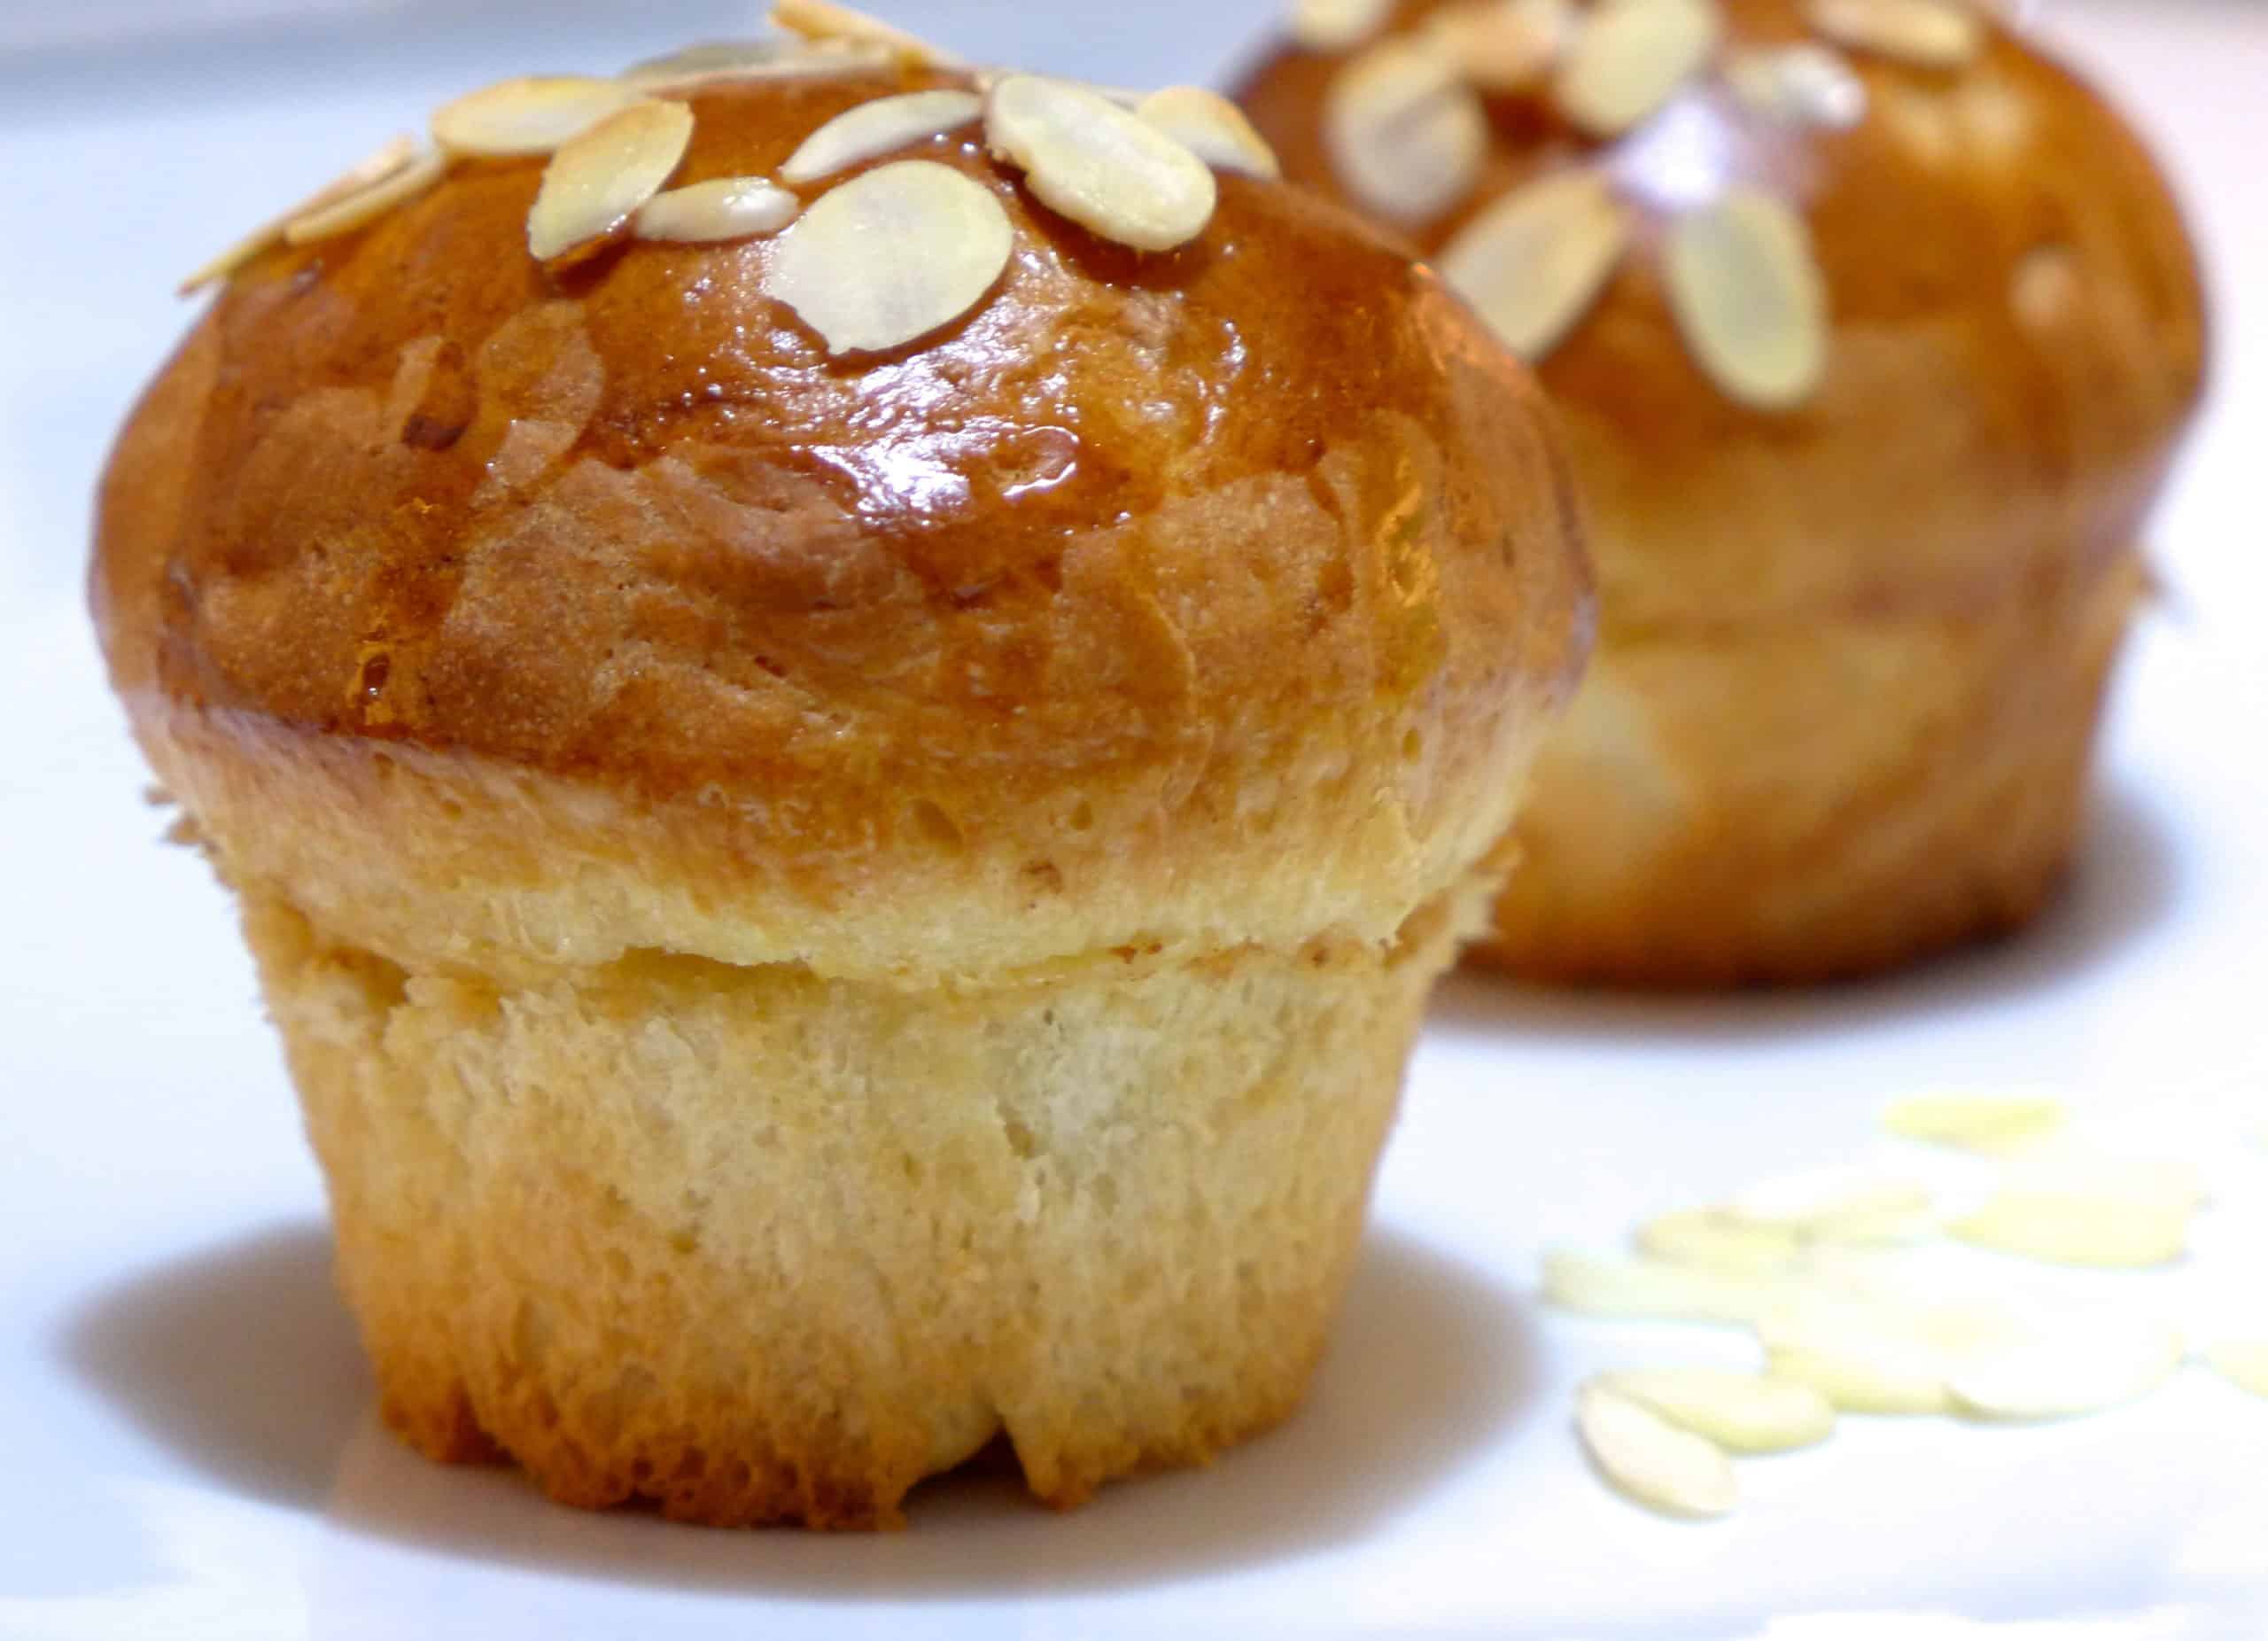
- Tsoureki muffins
- Traditional tsoureki (made using your mixer)
- Koulourakia Greek Easter cookies
- Traditional Cypriot Flaounas
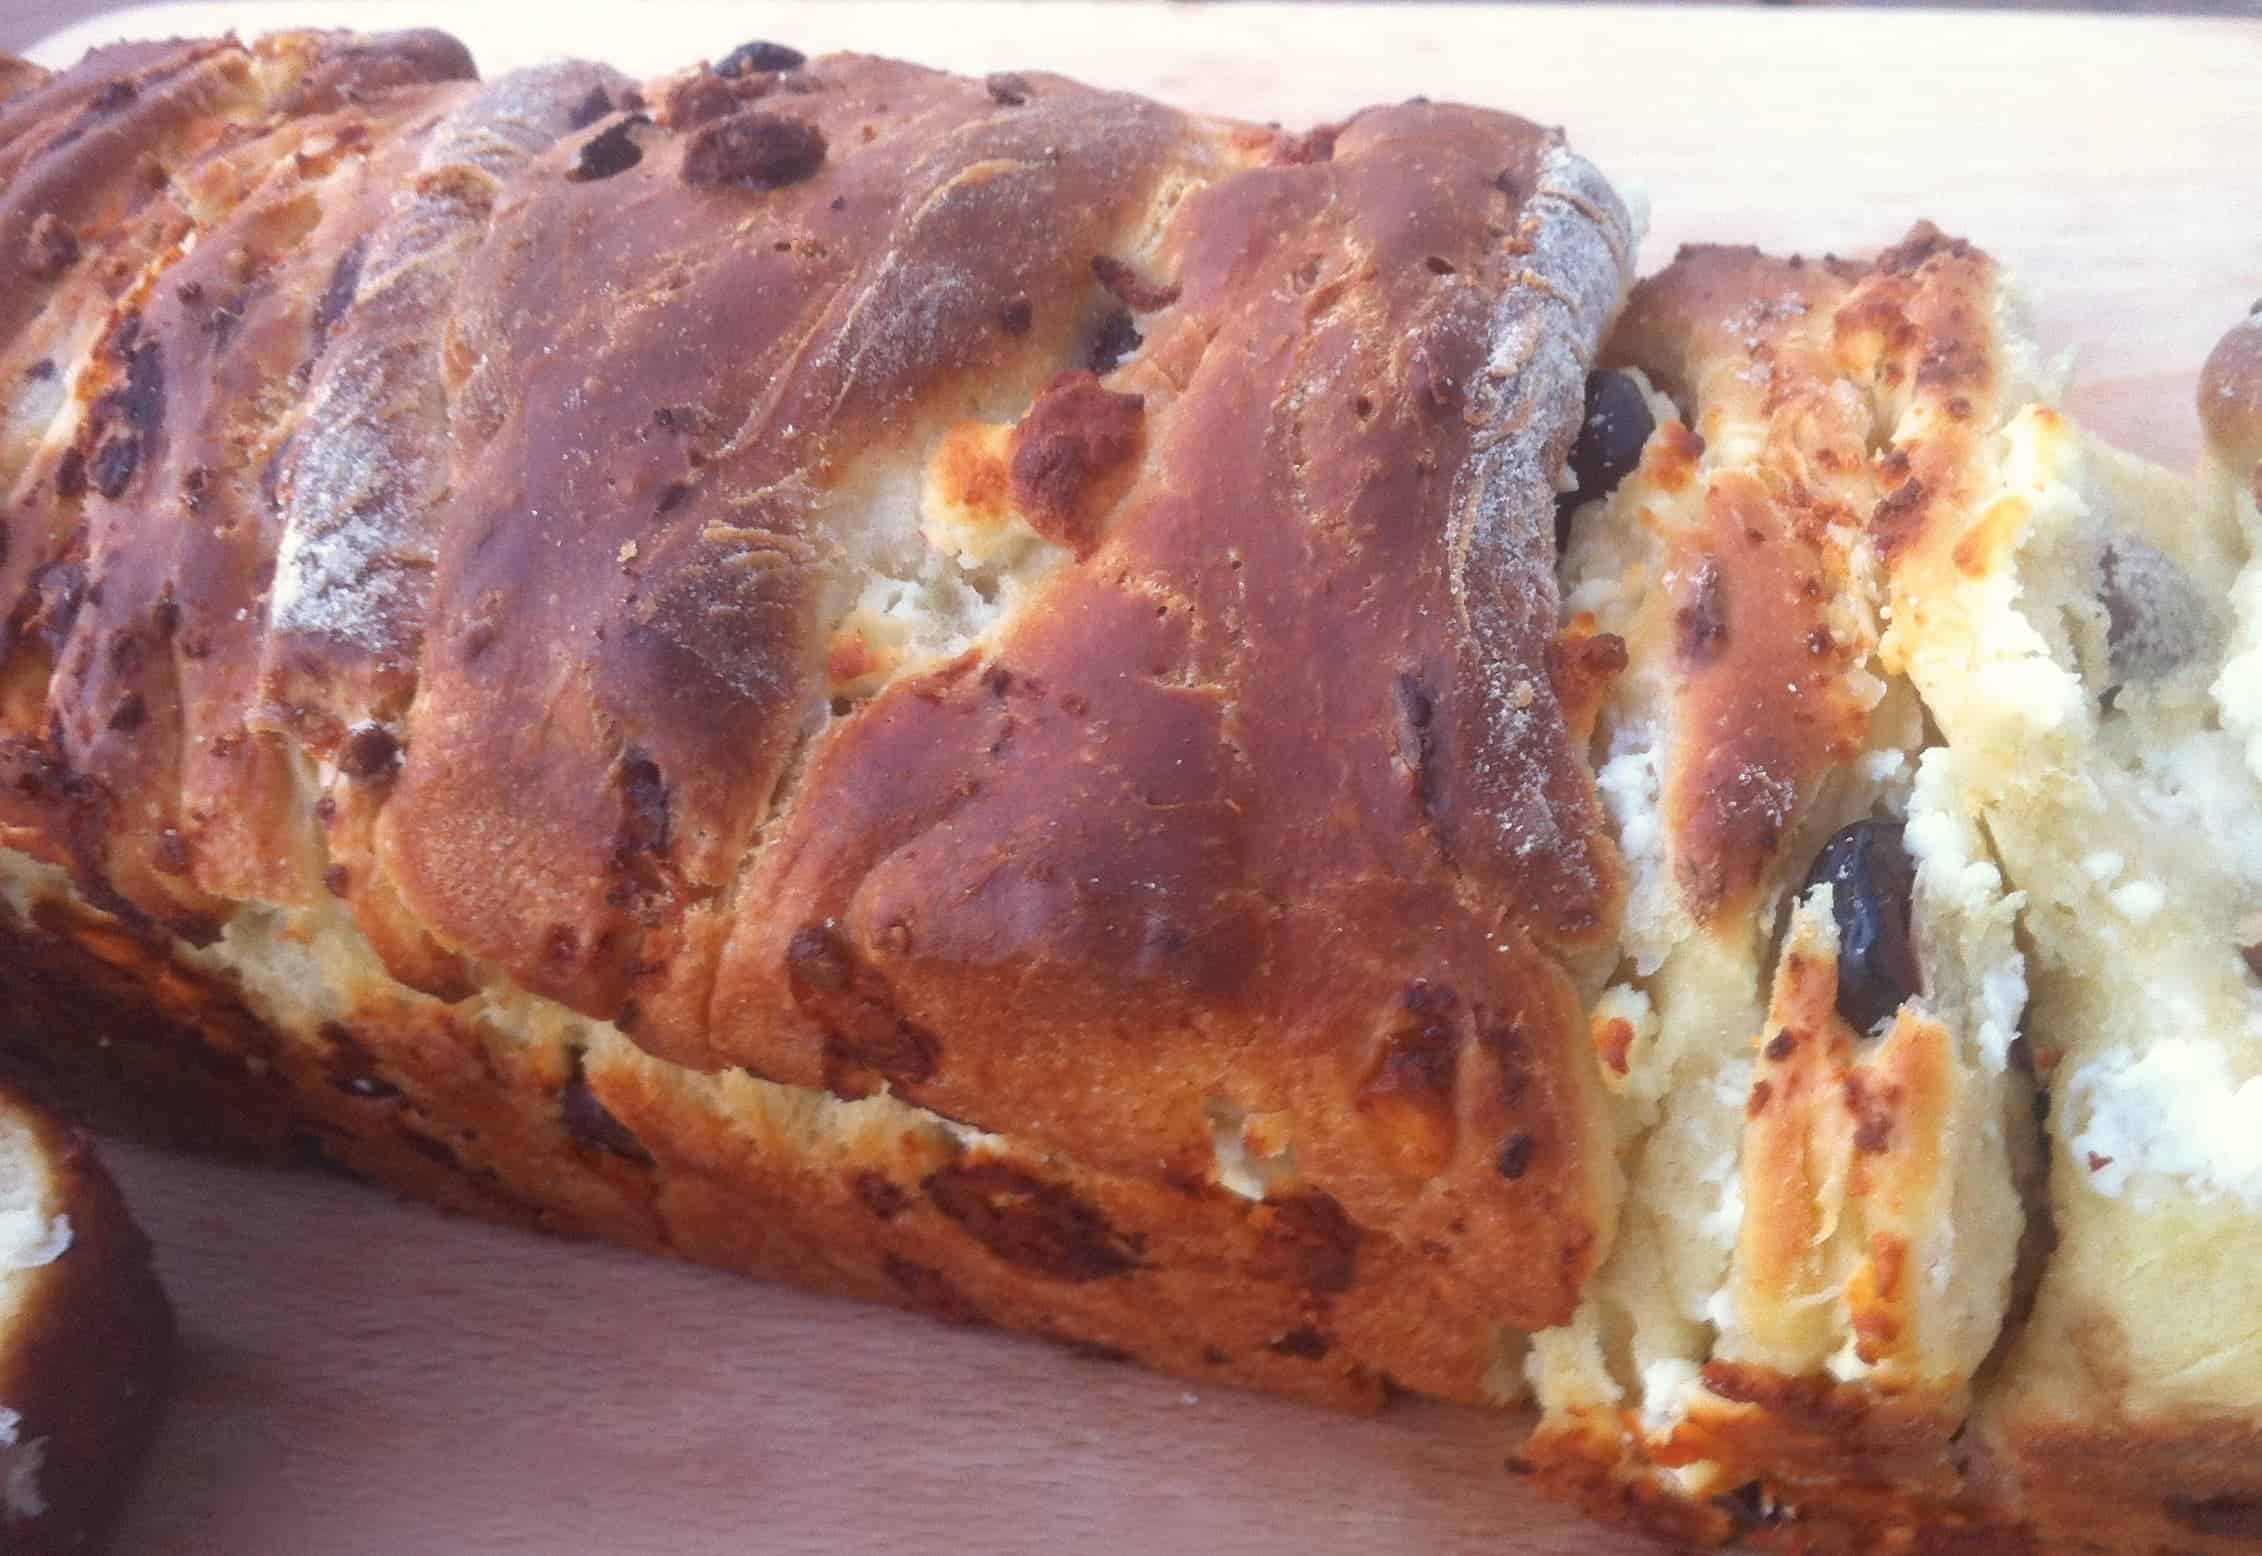
- Cretan sweet cheese pastries
Also if you love using your bread machine, then my delicious Bread machine sourdough bread recipe is made for you!
Print
Easy Tsoureki in Bread Machine
- Prep Time: 2 hours
- Rising time: 4 hours
- Cook Time: 45 minutes
- Total Time: 6 hours 45 minutes
- Yield: 1 tsoureki 1x
- Category: Dessert
- Method: Baked
- Cuisine: Greek
Description
Who doesn’t love a deliciously soft tsoureki! This is my super easy tsoureki recipe made using a bread machine. It needs less than 10 minutes hands on time to prepare because your bread machine does all the hard work, leaving you with more time to enjoy it!
Ingredients
For the dough
- 500 gr (17.6 oz) strong white (bread) flour
- 5 tsp instant dry yeast
- 130 gr (4.6 oz) sugar
- 100 ml (3.4 fl oz) milk
- 90 ml (3 fl oz) water
- 80 gr (2.8 oz) butter
- 2 eggs
- 5 tsp ground mahleb seeds
- 1 tsp ground cardamon seeds
- 2–3 ground mastic “teardrops”
- 1/2 tsp salt
To glaze and decorate
- 1 egg
- 2 tbsp water
- 4 tbsp almond slivers
Instructions
- To prepare my easy tsoureki in bread machine start by adding the flour in the bread machine bowl.
- Add the yeast on one corner of the bread machine bowl.
- Add the tsoureki ground spices (mahleb, ground cardamon seeds, ground mastic), the salt, sugar and orange zest on the other side of the baking pan.
- Crack the eggs in a bowl, pour in the water and whisk.
- In the bread machine bowl, pour in the milk and the egg-water mixture and add half the butter.
- Place the bowl in the bread machine and start the brioche dough programme. In the Panasonic SD-ZX2522, use menu 33. On the Panasonic SD-ZB2512 use menu 29. When the bread machine beeps, add the remaining butter and resume the programme.
- If your bread machine doesn’t have a brioche dough setting, use the plain dough setting and half way through the kneading cycle add the remaining butter to your tsoureki dough.
- Once the programme is complete, your bread machine tsoureki dough should look soft, springy and a little bit sticky.
- Its now time to proof your bread machine tsoureki. Set your bread machine to the “rise” programme and let it proof for about 3 hours. The dough is ready when it has doubled in size and has almost filled the bread machine bowl.
- If your bread machine doesn’t have a “rise” programme, use the sourdough starter programme and let the tsoureki dough proof for about 3 hours. If your bread machine doesn’t have a rise or sourdough starter programme, simply switch off the bread machine and leave the tsoureki dough in it for about 4 hours to proof.
- Once the tsoureki dough has proofed, remove the bowl from your bread machine and gently deflate your dough.
- Pour out the dough and using your scale split it in three equal portions.
- Take one portion of dough and roll it a little using your hands. Then grab it by the ends and shake it to stretch it into a rope. Each tsoureki string should be around 60cm/24 inch long. This technique will align the gluten in the dough and help it form that delicious stringy texture that characterises there traditional tsoureki.
- Lay your three tsoureki dough ropes side by side. Pinch the three dough ropes together on the top and fold the ropes over each other, forming a braid. Finally tuck the edges underneath.
- Transfer your tsoureki dough in a large baking dish lined with some parchment paper. Cover with some cling film and let it proof for around 1 hour, until it has doubled in size. If your house is cold, try turning the oven light on and putting your dough in it, to accelerate the proofing.
- Your dough is now ready to decorate. Crack one egg in a bowl, add a couple of tablespoons of water in it and whisk. Brush your tsoureki in a bread machine dough with the egg wash and sprinkle the almond slivers over it.
- Preheat your oven to 160C / 320F and bake your tsoureki for 45 minutes until it turns golden brown on top. Halfway through the cooking time rotate your baking dish so that the tsoureki is evenly coloured.
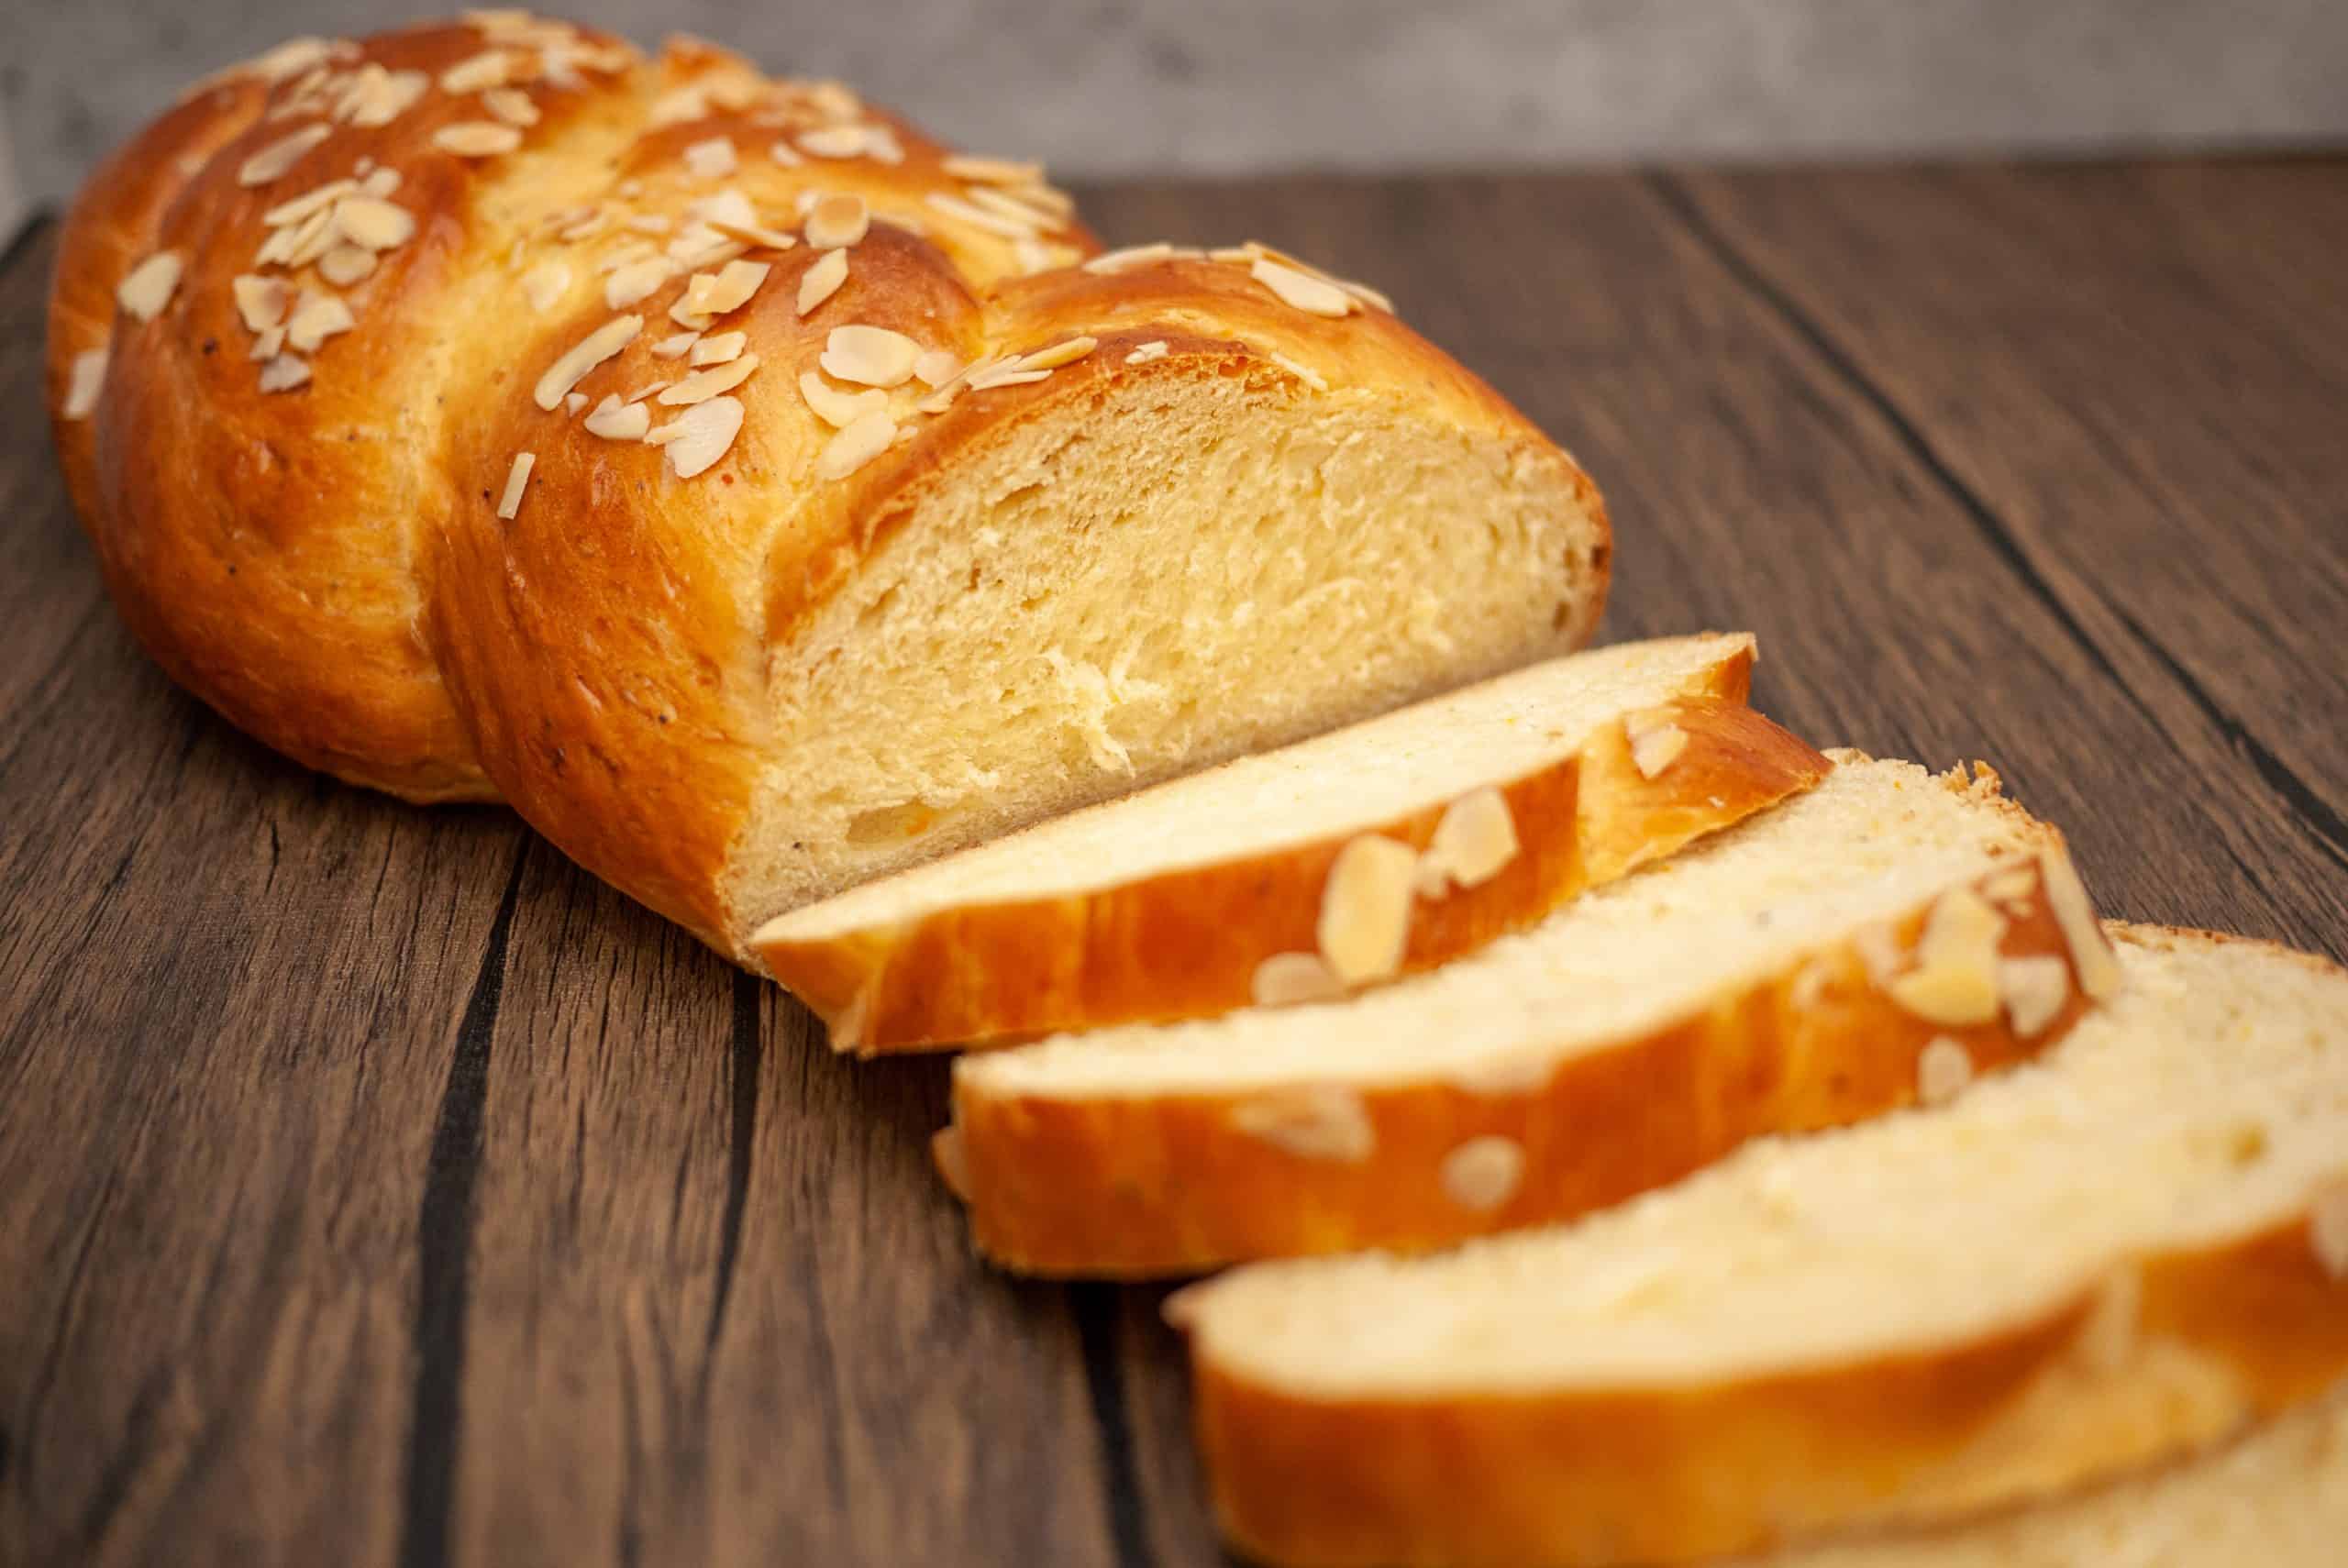
- Remove your bread machine tsoureki from the oven and let it cool down on a cake rack. Slice and serve with some chocolate spread or jam! Wrap it with some cling film to help keep it fresh!
- Enjoy!




Your “ easy tsoureki in bread machine “ recipe is the best!!! Easy to follow instructions & the result is sensational!!!
Best tsoureki I have made!!! Thank you
nice result. my loaf was a bit large – next time I would make 2 smaller loafs from this recipe. great taste. thanks
Eli, What make/model bread machine do you recommend for making your Tsoureki recipe?
Many thanks,
Sylvia
I’ve made this recipe twice now, making it into rolls as my husband requested. This recipe makes fabulous sweet rolls! Thanks so much for posting. Yiasou!!
So glad to hear you’ve loved them 🙂
I’d like a red egg in the loaf, do you put the egg in before baking… or cutting out a hole and inserting the egg after it has been baked? What is the best way?